
Back To


Please Be Patient
The thumbnails may take some time to load.
Click on any picture to see a larger version
![]()
When a guitar dries out from extremes
in temperature and humidity
or is smacked up against someone's head, cracks tend to develop.
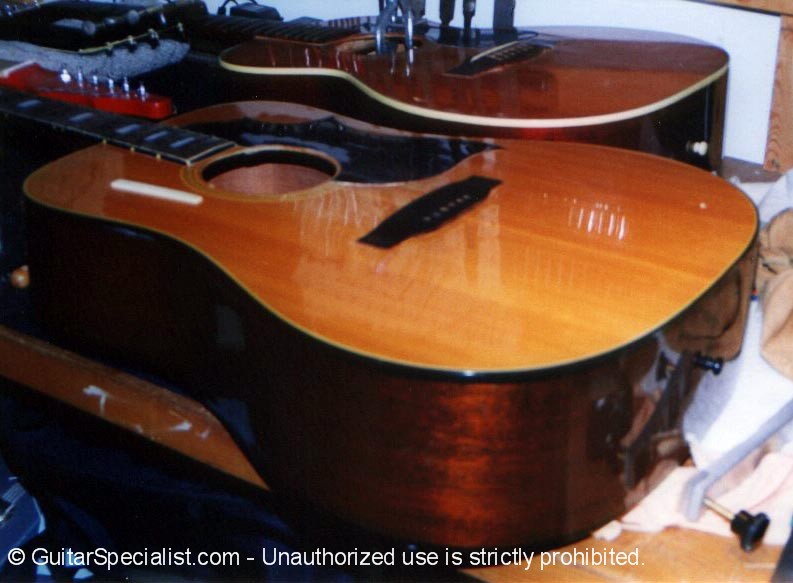
 Here we have a pretty nasty crack, more than likely due to the instrument drying out. |
||
 After working some glue into the crack and clamping a spruce cleat on the inside, the crack is gently squeezed shut with a large bar clamp and cauls to fit the lower bout of the guitar. |
 With a little color to hide the seam it's about ready for some lacquer & a buff out. |
|
 The finished product. |
![]()
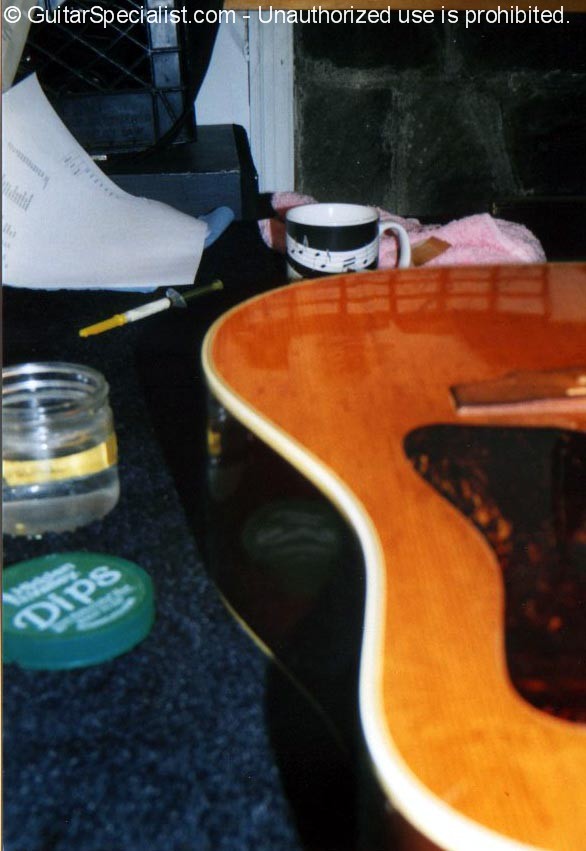
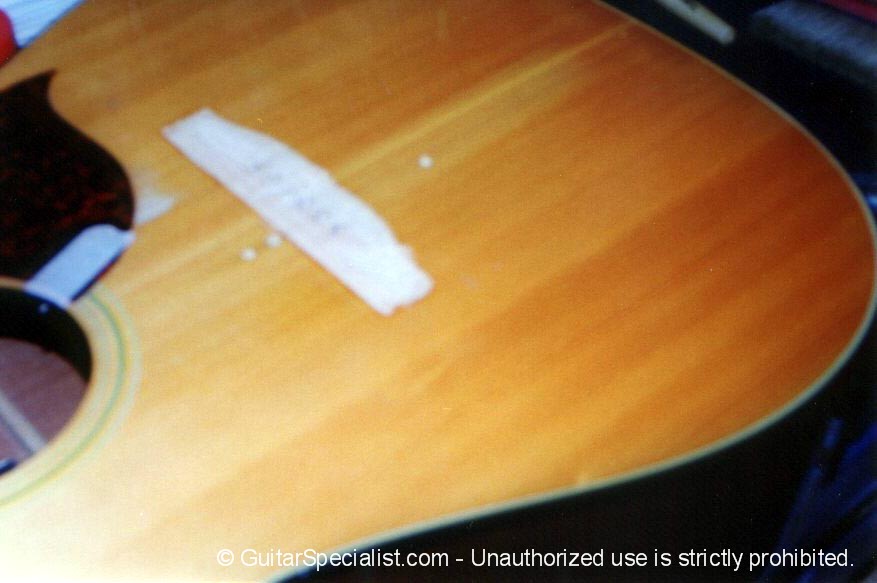
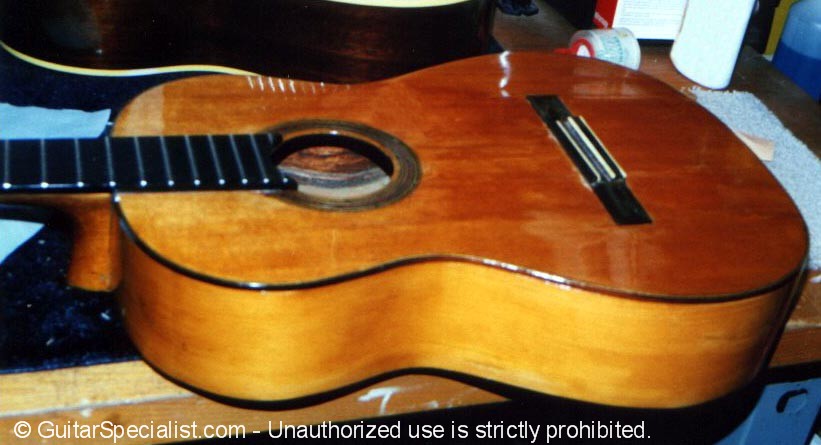
It sometimes amazes me what
someone will do to a guitar. Case in point,
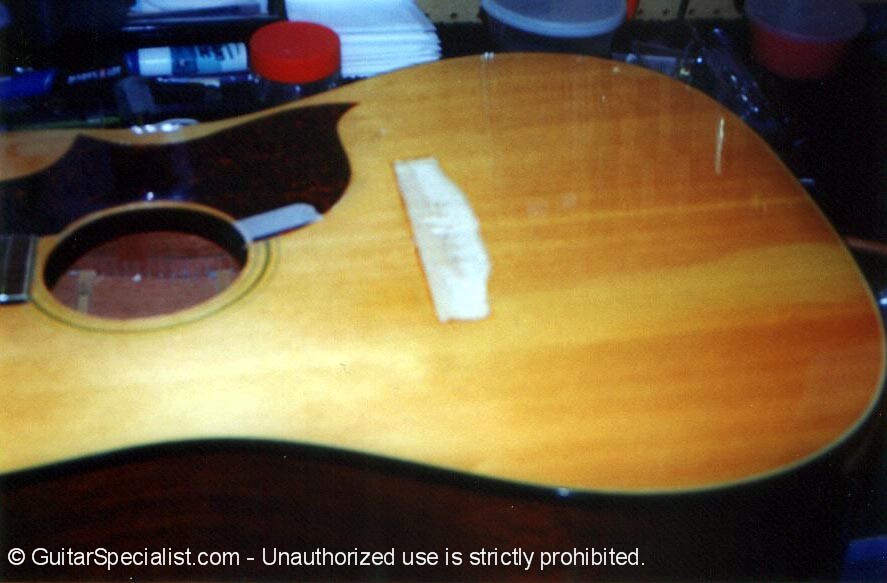
in an attempt to install a pickup someone drilled holes right through the face of this old
Gibson (OUCH !). The
best option is to fill the holes with handmade spruce dowels, making sure the grain
orientation
is similar to the rest of the top, glue them in, and match the color. Piece of cake (yeah
- right).
 First I removed the old bridge which was in pieces and in the way. It needed to be replaced anyway.
|
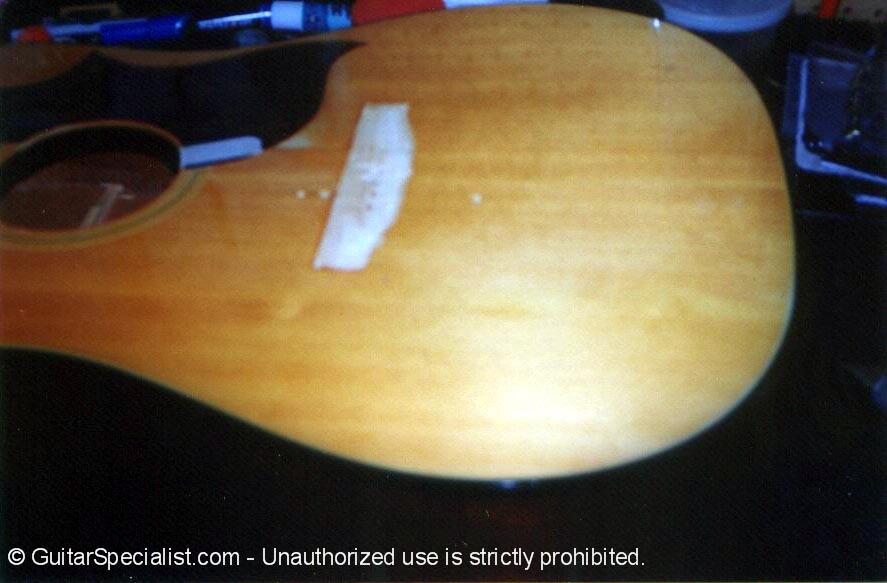 Next I filled the holes with the dowels I made. |
|
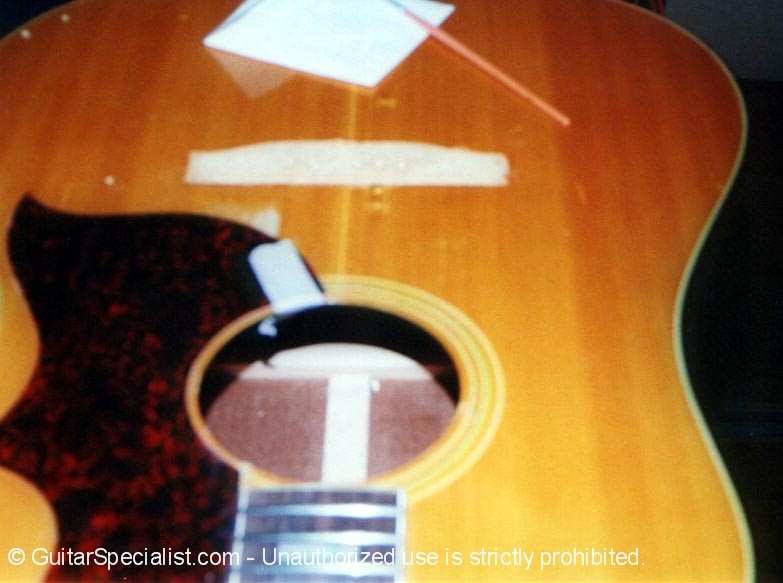 Now the fun part - matching the color. This is not my favorite part.
|
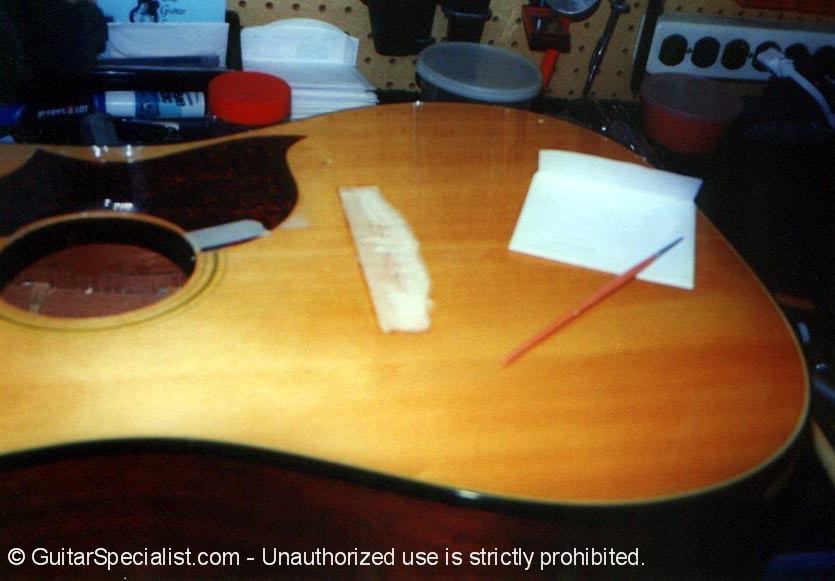 There - I'll come back when it's dry ... |
 ... that was quick - I wish things dried that quick in real life. Now to put on the bridge. |
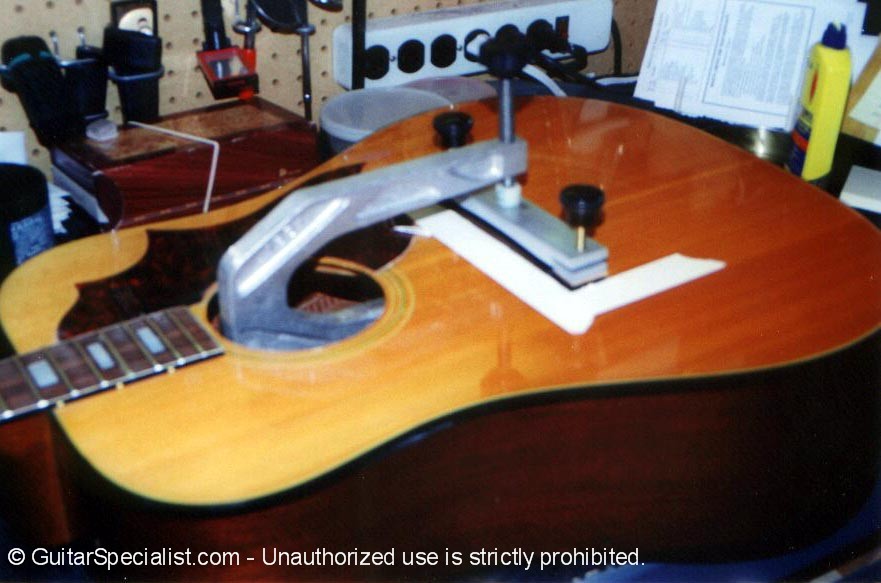 This is a neat, single clamp caul for gluing up bridges. A great tool. |
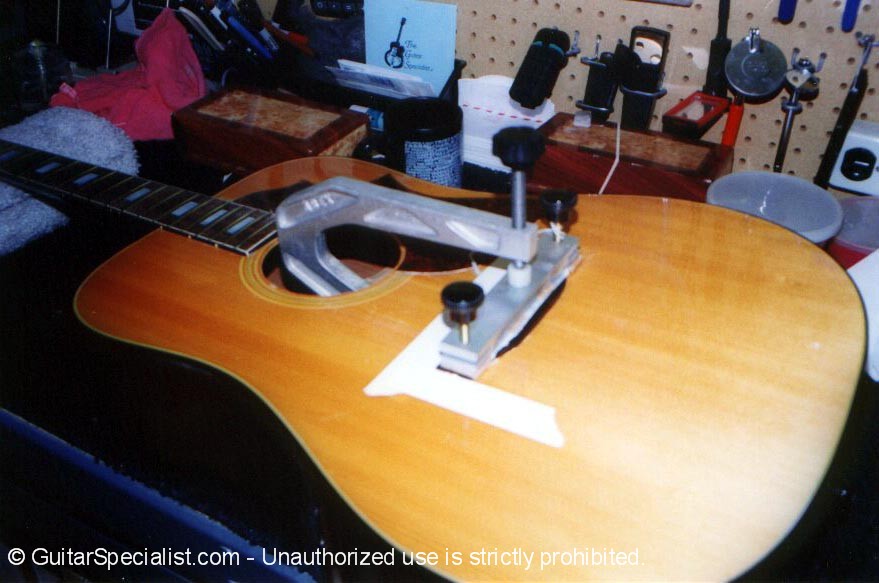 It sure beats having to struggle with getting three clamps through the soundhole. |
 After the bridge is in place, I'll polish it up & get ready to make a new saddle. |
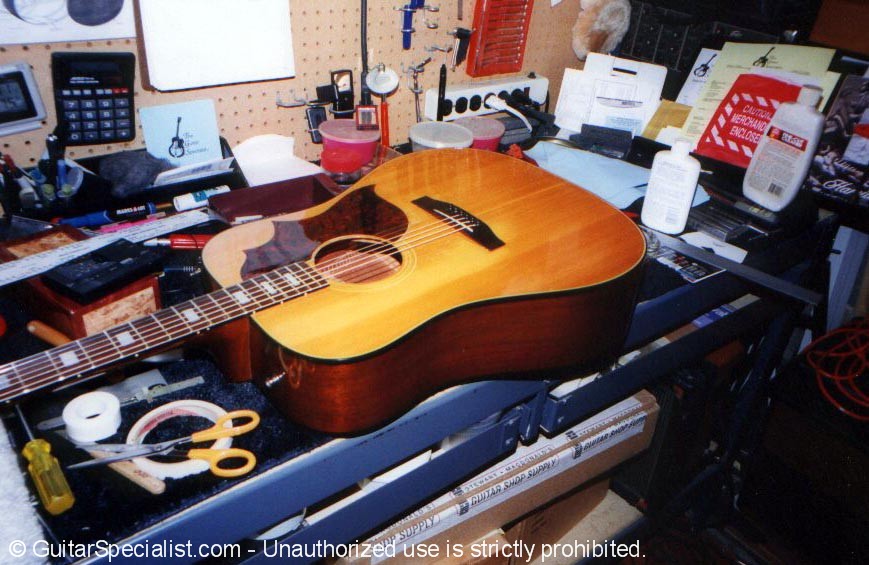 There - one guitar saved from a runaway drill bit. |
![]()
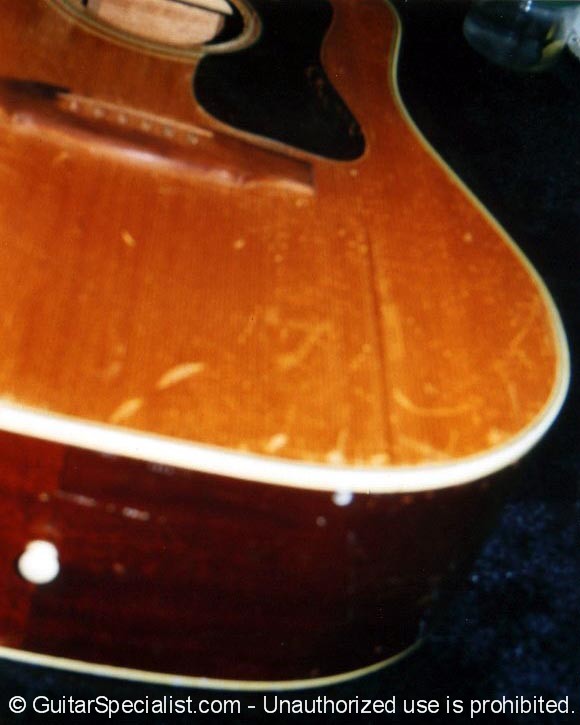
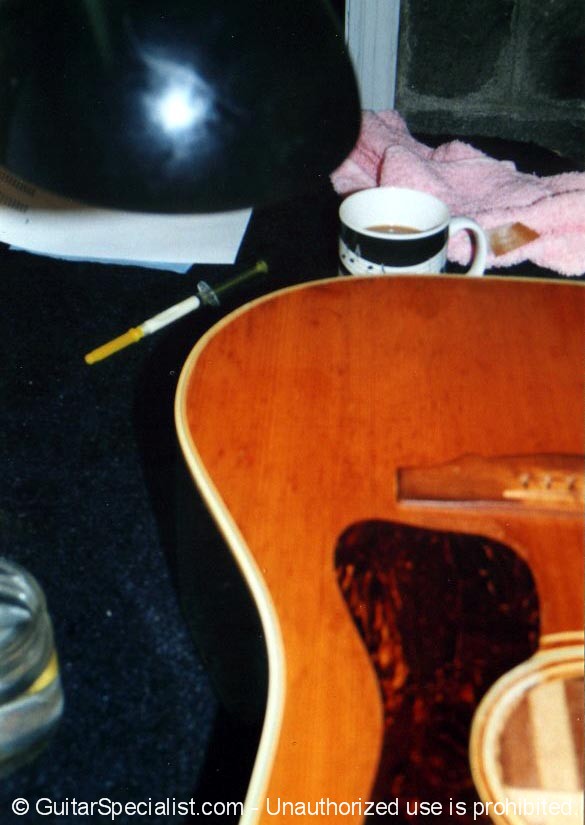
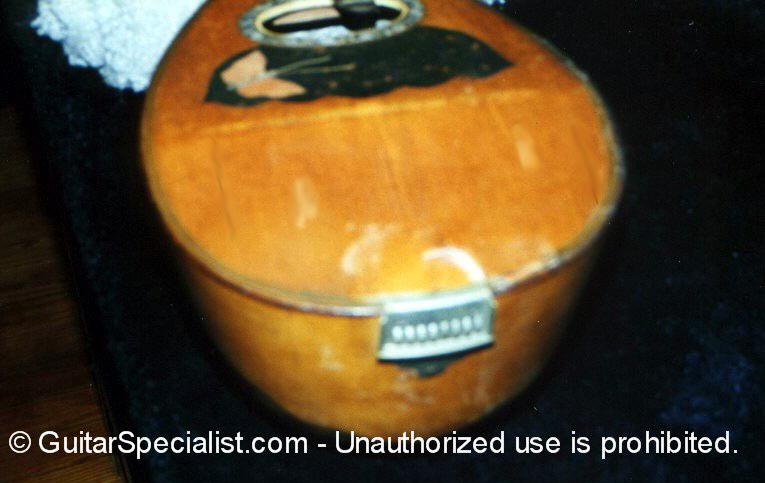
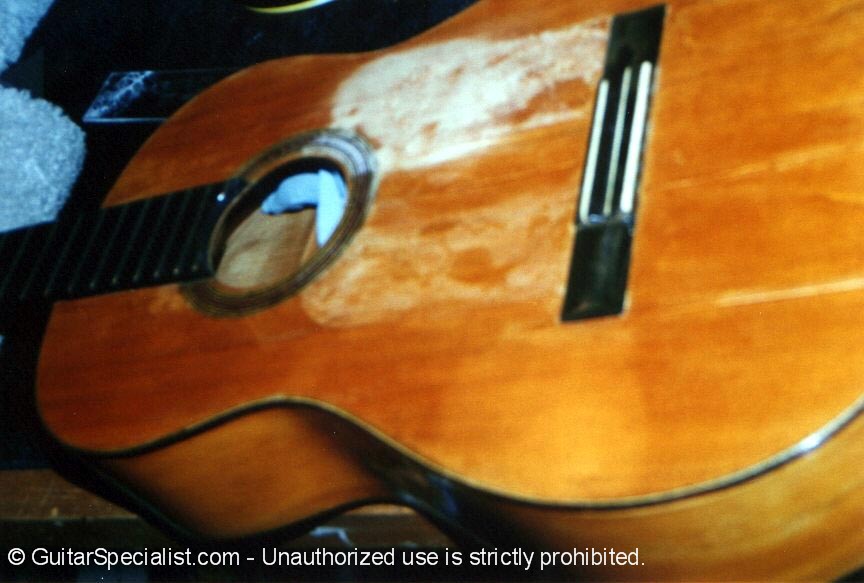 This 1927 Esteso Flamenco came to our shop with quite a few cracks in the face, back & sides, a few loose braces and a face that had been butchered by someone attempting to remove the tap plates (seemingly with a jack hammer). |
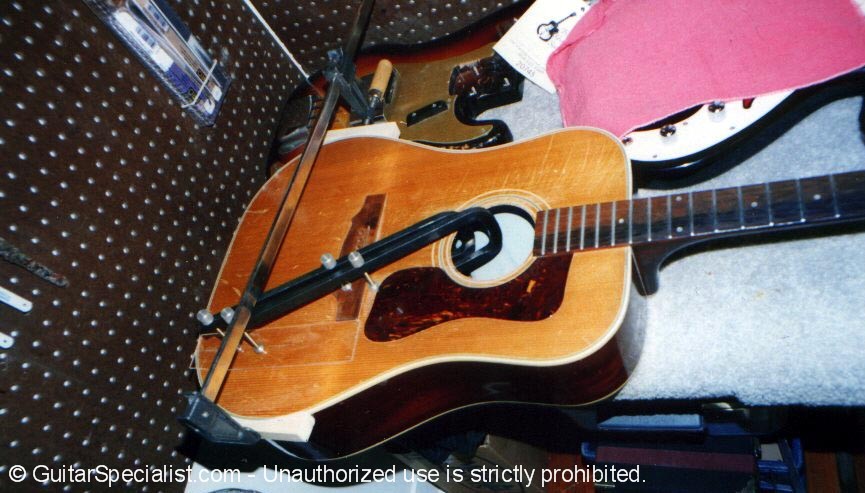
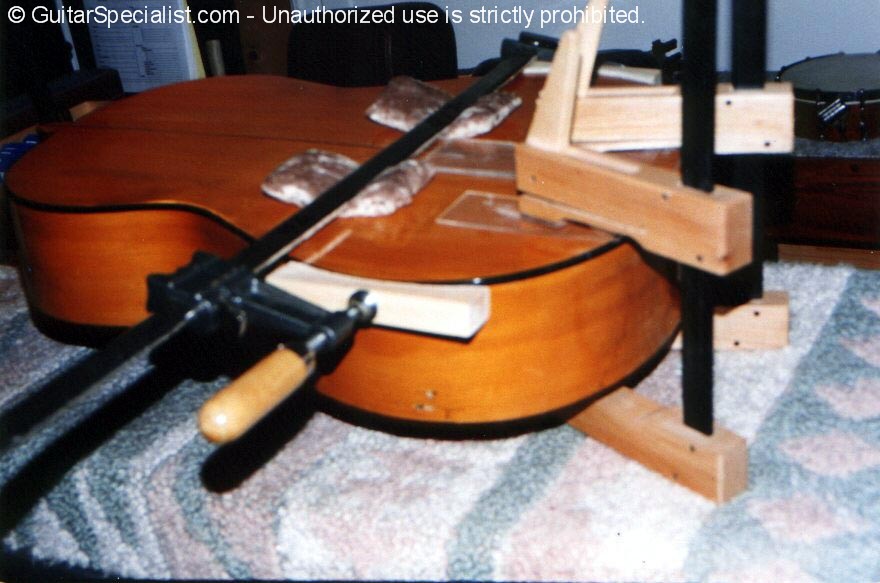 First we'll take care of the cracks & braces. Since I had a deadline (a matter of days) I decided to try and take care of several separations at a time. Here are some of the clamping configurations. |
|
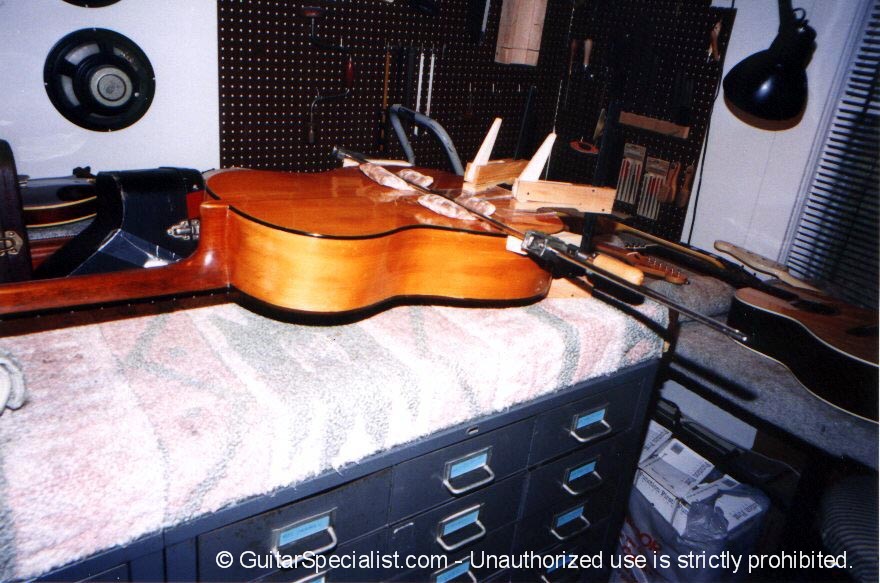 There are turnbuckle jacks providing outward pressure on the inside of the instrument. The cam clamps are pushing inward on the turnbuckle. In addition I am closing a lengthwise crack with the bar clamp here. |
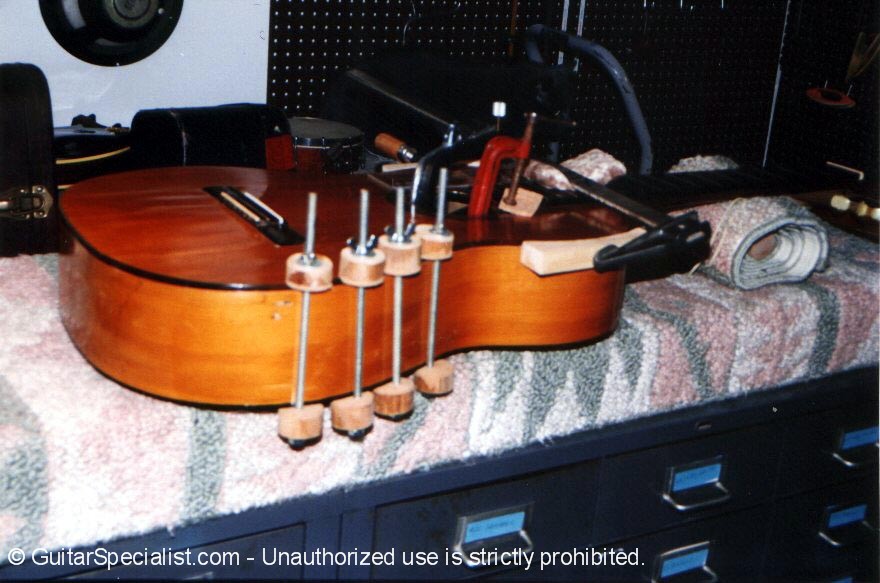 Clamping a side crack, gluing down part of the lifting fingerboard extension, and closing a crack along the upper bout along the fingerboard. |
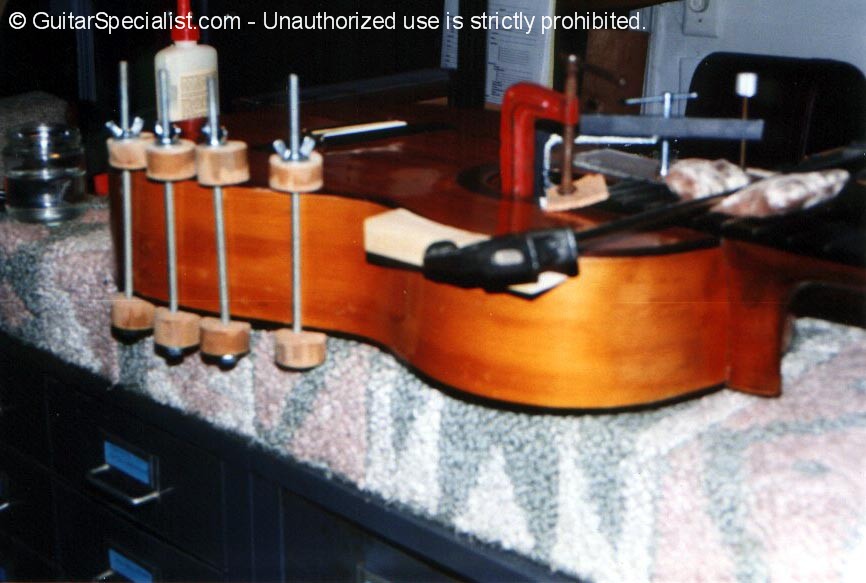 Let's - see can I fit any more clamps in there? |
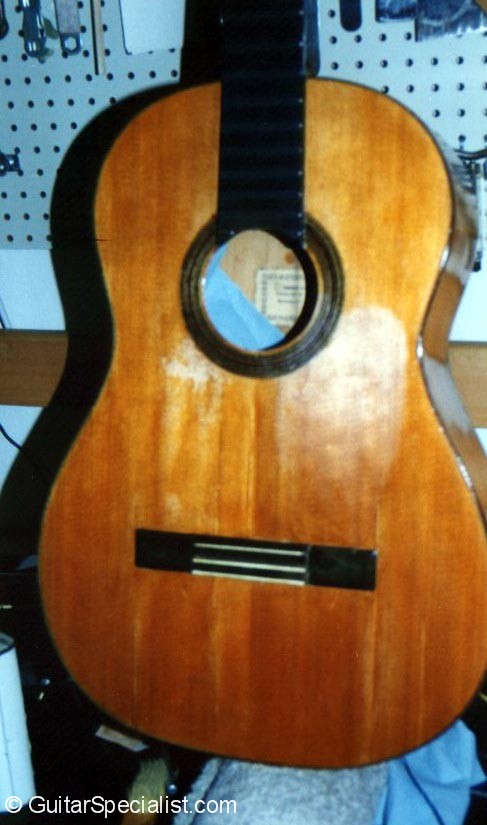 Now - let's see if we can clean up this face. After the color matching & finish (french polish), it should look pretty good. |
||
 There - that looks quite a bit better - not bad for a 70 plus year old guitar. I hope I age as gracefully. |
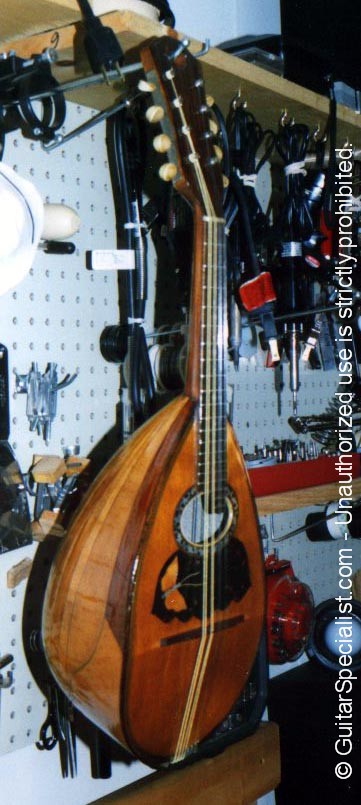
![]()
 No great shakes here - it's a turn of the century Italian mandolin that has a few cracks and finish problems |
There was also a crack in the bowl along one of the seams - it's really not even all that valuable, but the customer wanted it restored because it belonged to dear old granddad and wanted to keep it for sentimental reasons. |
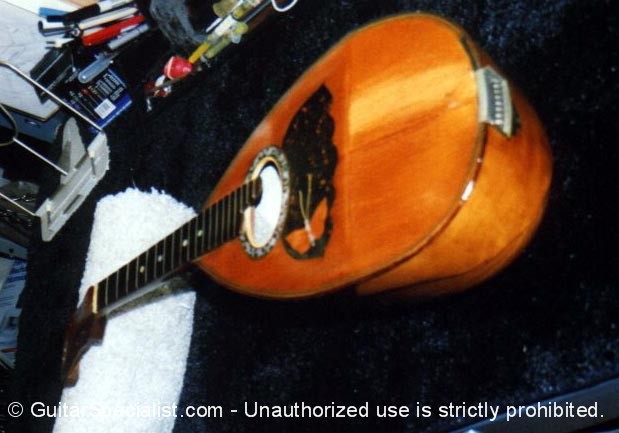 OK - well I guess you can't argue with that So here goes. After the crack repairs, a little color matching ... |
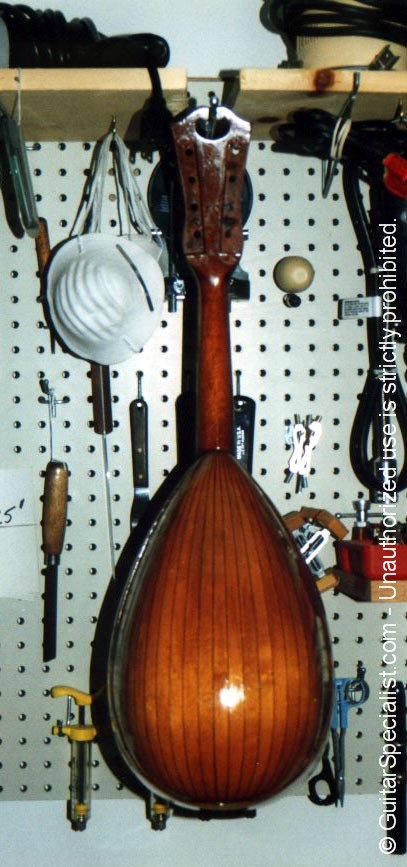 ... and applying some finish via french polish (I hope the Italians wont mind) |
"Bellisima" (about the extent of my Italian language skills - I can also ask for a cup of coffee) |
 It's actually quite a beautiful instrument. |
![]()
 Here's an otherwise perfect instrument which the customer accidentally smacked against the ceiling, damaging the headstock. |
 Here's a close up of the chip. It's a little deep - not horrible but disheartening. |
 After taping off the tip of the headstock to provide a "Dam", the chip is filled with epoxy that's been colored with dye. |
 After final shaping and buffing it looks like this. |
 It's hardly noticeable. |
![]()
|
(914) 401-9052 |
|
|
|
� Copyright 1998 - 2019 and beyond |