

Back To


Please Be Patient
The thumbnails may take some time to load.
Click on any picture to see a larger version
![]()
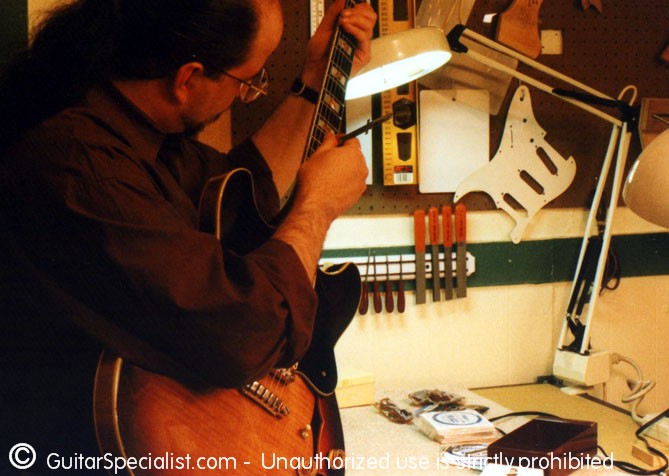
John came by Thursday
morning with his Ibanez Artist. His chief complaint was the electronics. The
electronics
had apparently bugged out on him a couple of months earlier while on tour in Europe.
A sound tech on the tour got him up and running again but left things kind of a mess and
things were a bit noisy. He had a lot of intermittent cutting in and out and the
pots were starting to fail to boot.
His frets were beginning to show some wear as well - he said that he had someone on the
west coast
do a grind and polish only about a year ago - In my opinion they left the frets more than
a bit on the flat side.
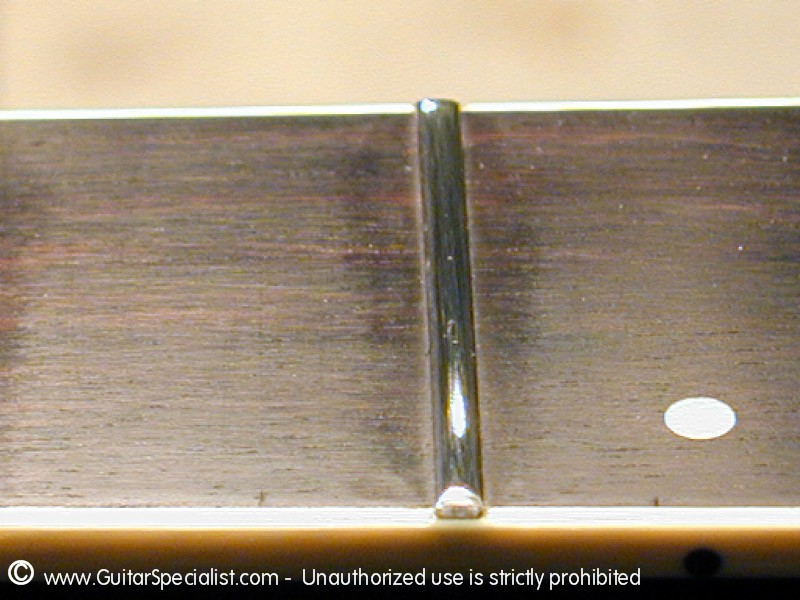
His frets were in need of a serious crowning.
"Oh by the way - Is there anyway you can have it done by Friday afternoon
- I
have to go to London for a series of concerts"
So here we go ...
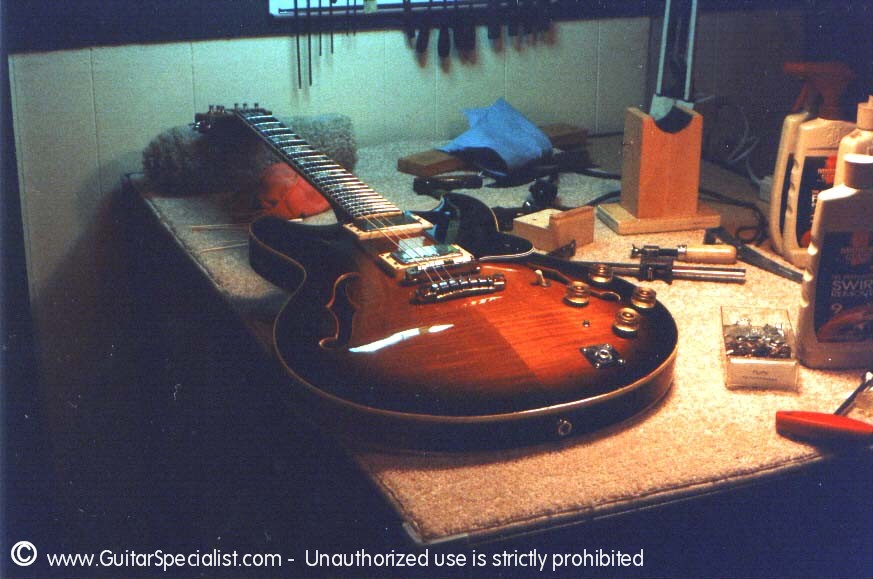
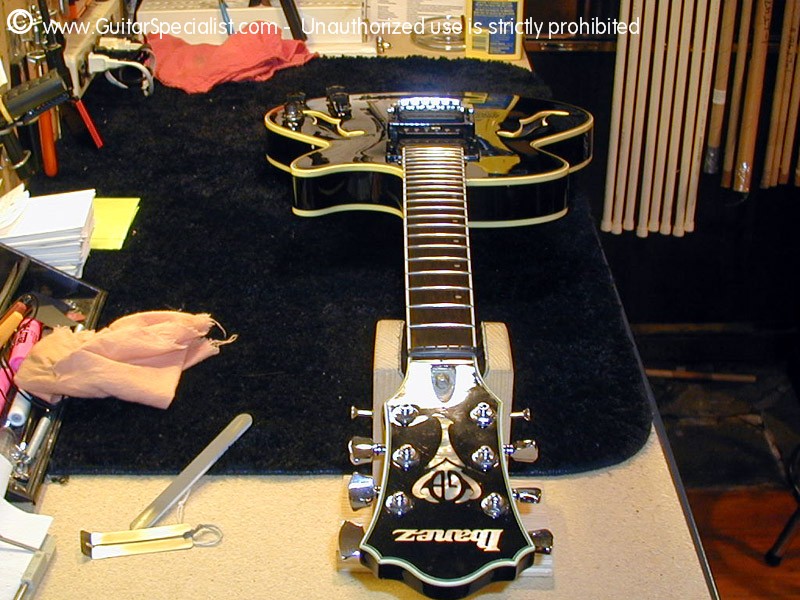
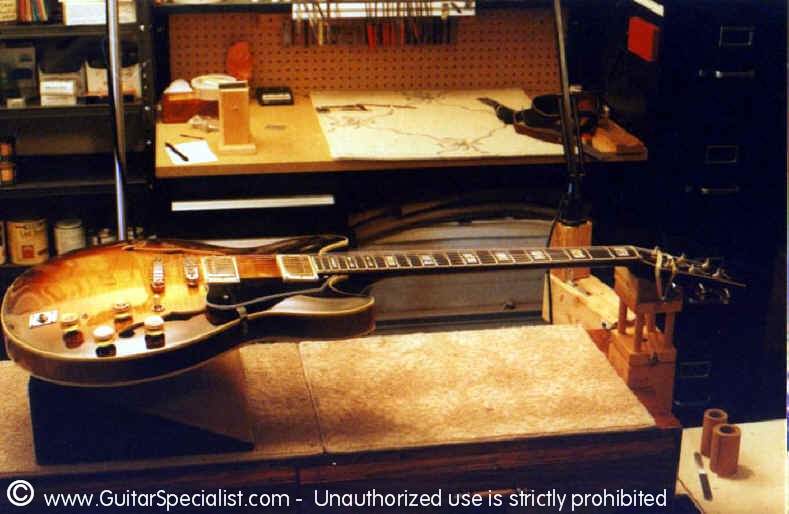 John's Ibanez - The frets are pretty flat and starting to show signs of wear and the electronics need to be replaced. |
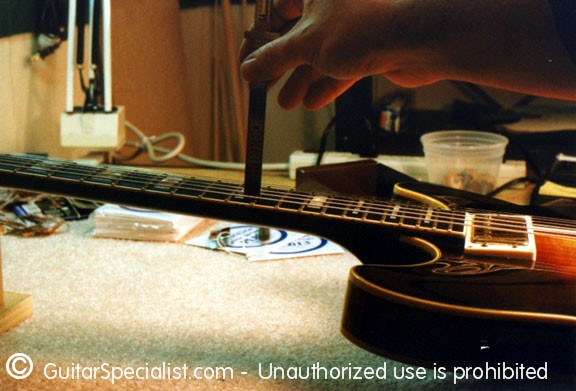
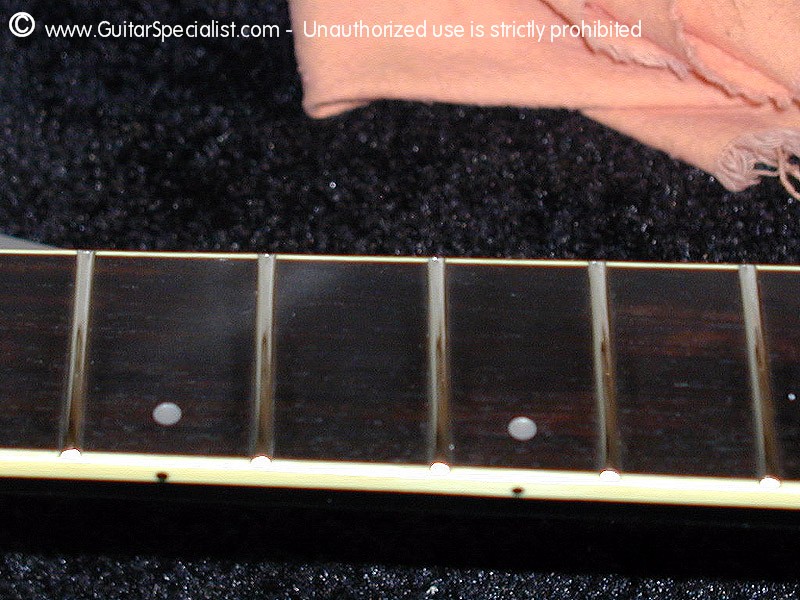
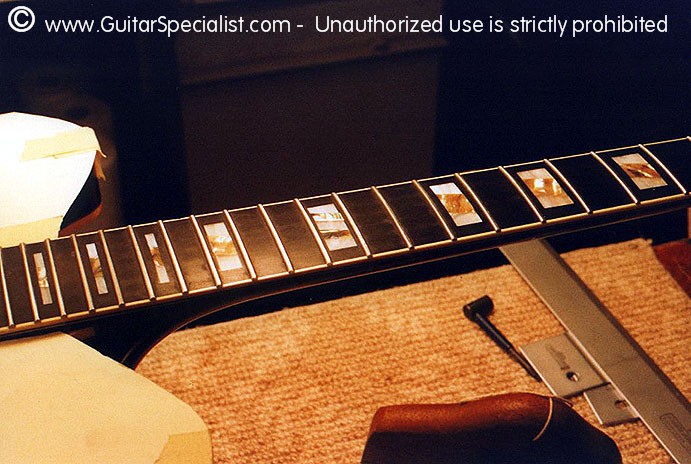 Here are the frets after a little bit of leveling. our goal is not only to level the frets along the length of the board ... |
 ... but to make sure that each group of three frets is perfectly level with one another. This one's ready for crowning. |
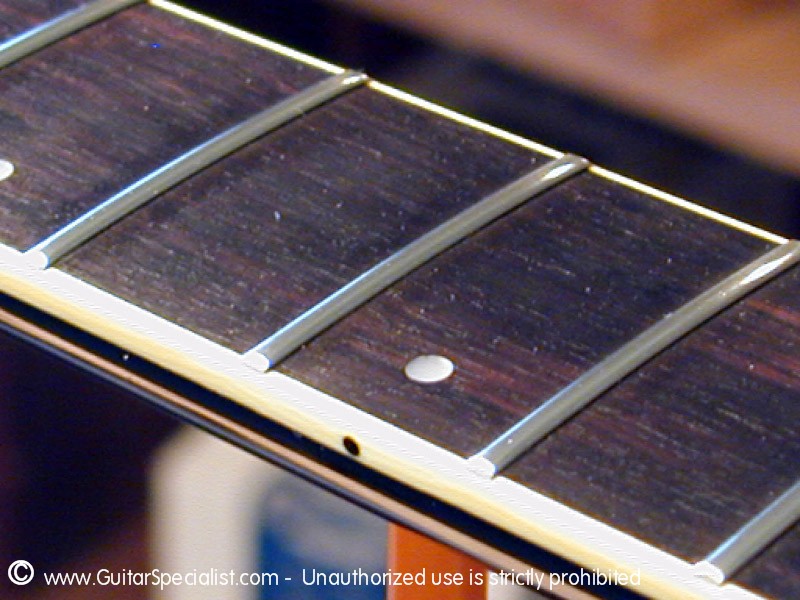
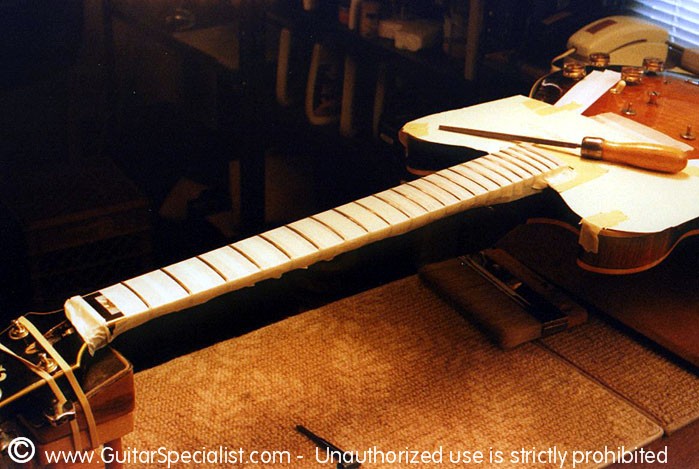 The guitar is taped between the frets to protect the fingerboard and each fret is crowned with my three corner file. My standard tool for the job |
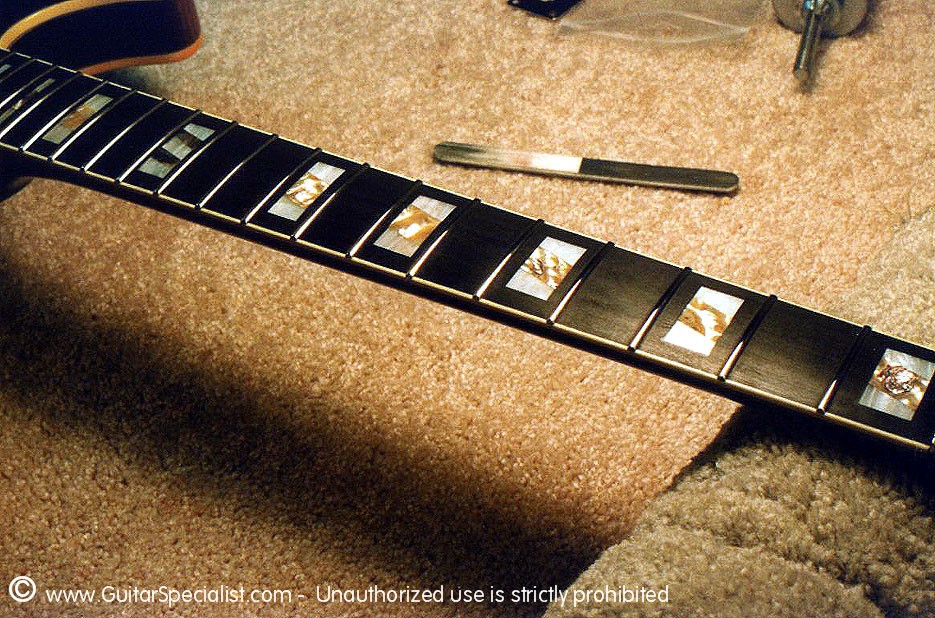 The Frets are then polished to a mirror like shine after sanding each fret with 600 grit on a notched sanding stick, buffed out with "0000" steel wool then ... |
 ... we follow up with one of these micro-mesh finishing abrasive sticks - it has three polishing surfaces - 4000, 6000 and 12000 grit. |
|
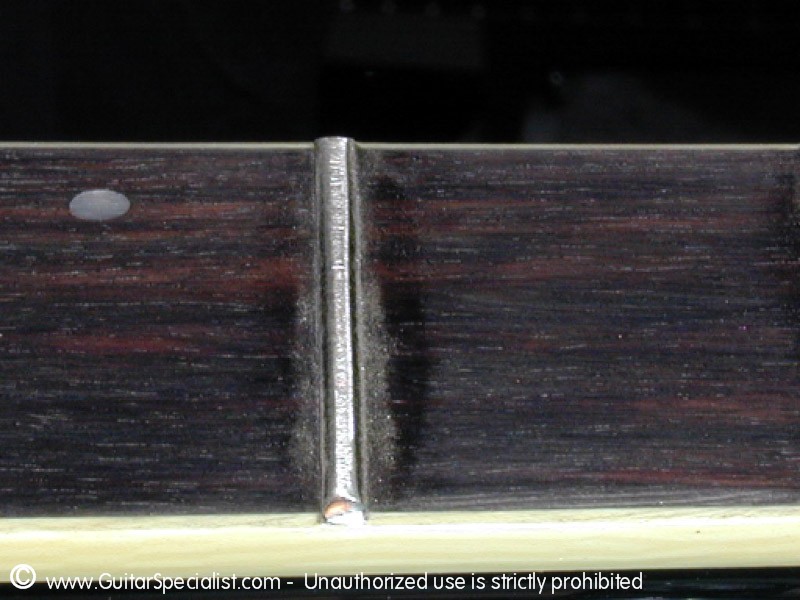
Nothing works better on frets - Here's a closer look. That's what we like to see a nicely polished Round Fret ! |
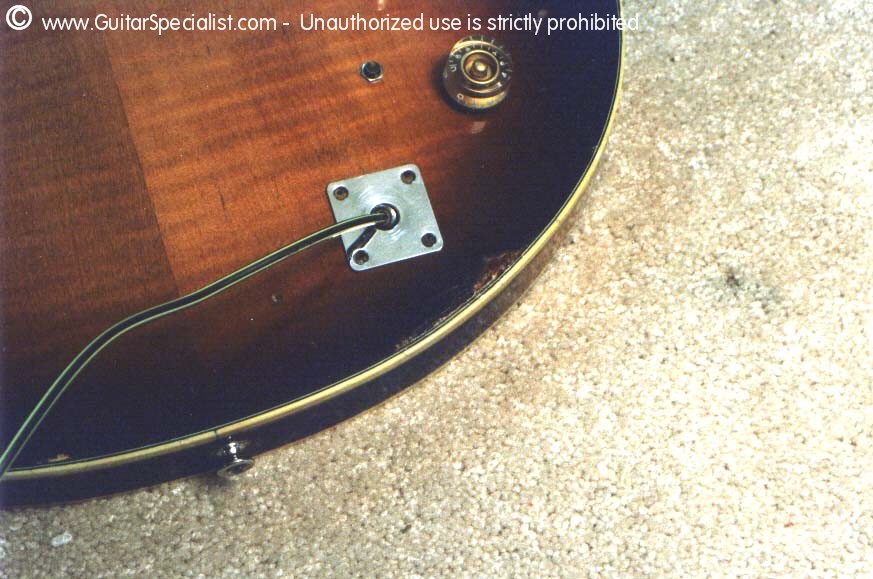
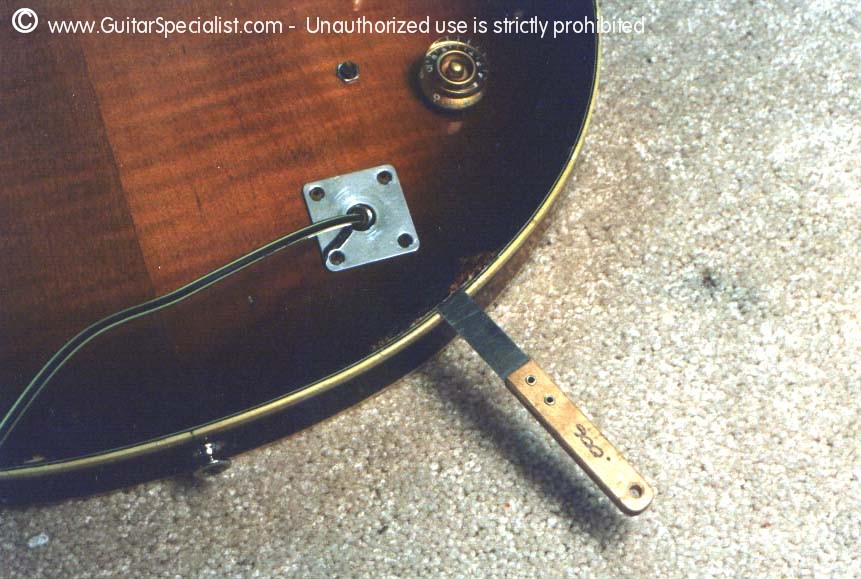
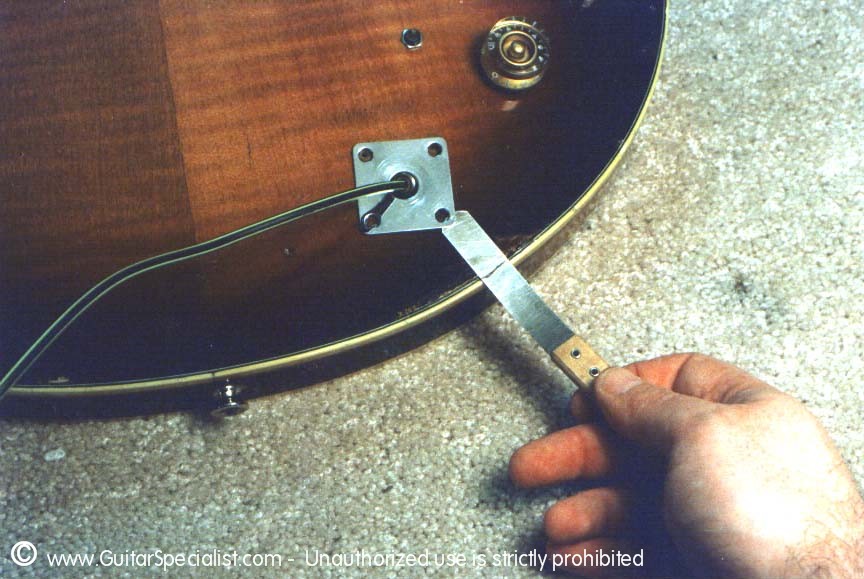
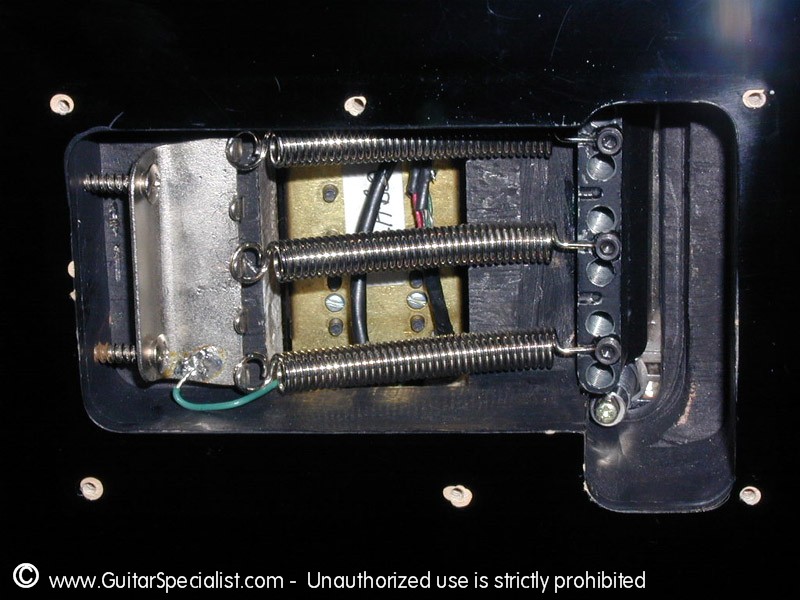
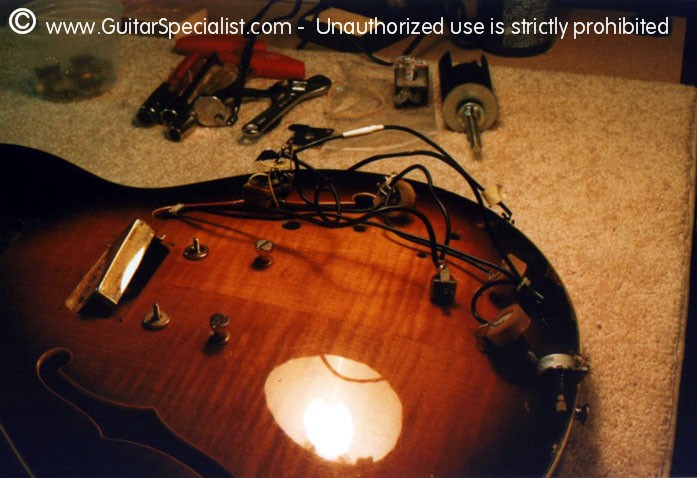 Next comes the electronics What a mess. |
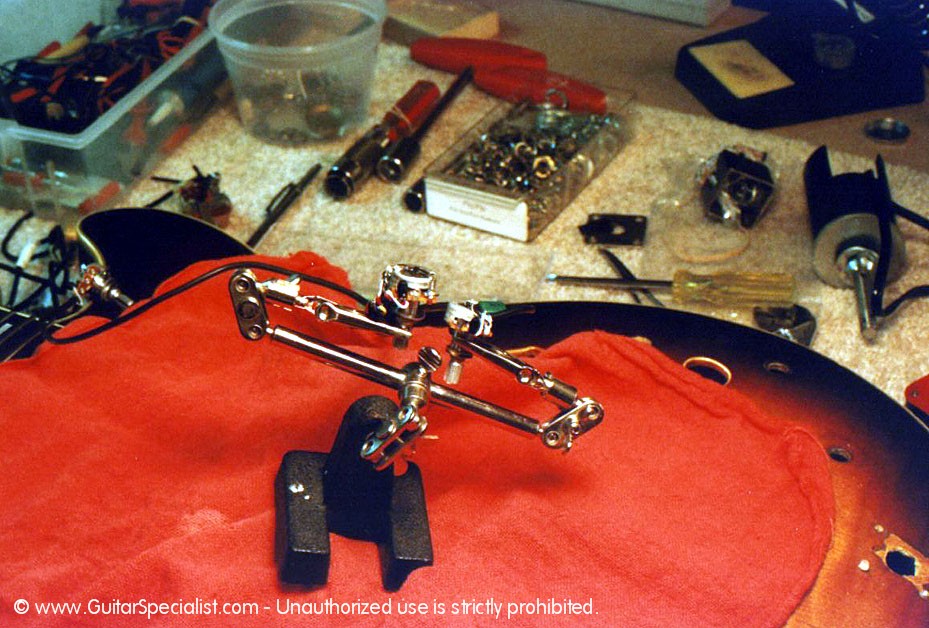 Here's a neat trick - When soldering - wherever possible - use "solder boots" - my term for using heat shrink tubing to help keep solder joints well protected. |
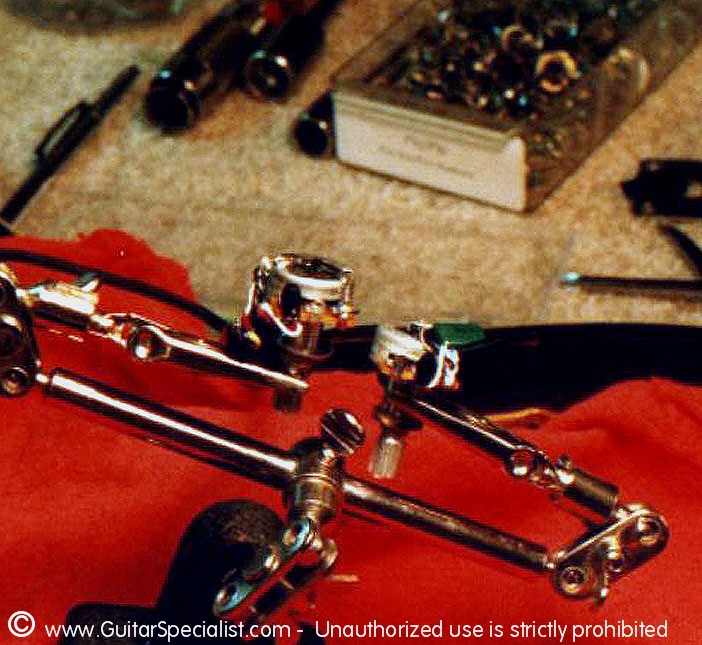 It takes a bit more time but it is well worth the peace of mind - everything stays nice and neat and the risk of a short is minimized greatly. |
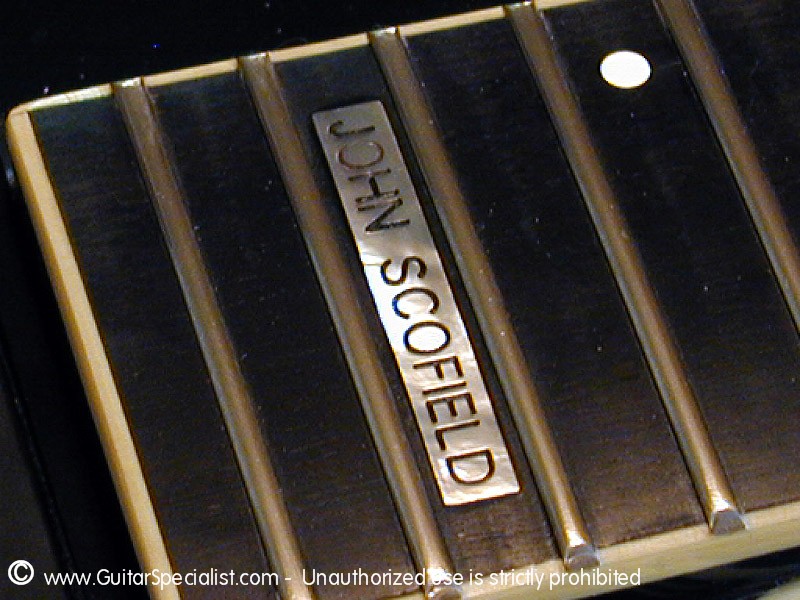
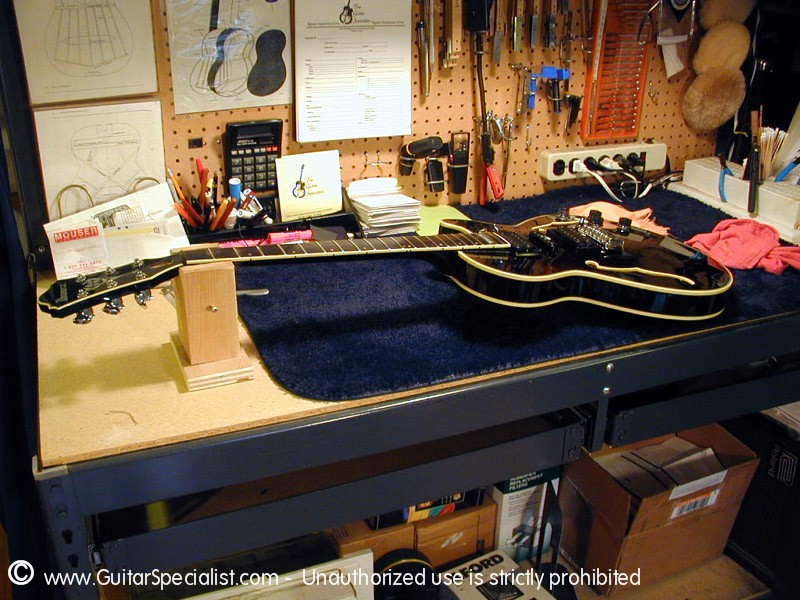
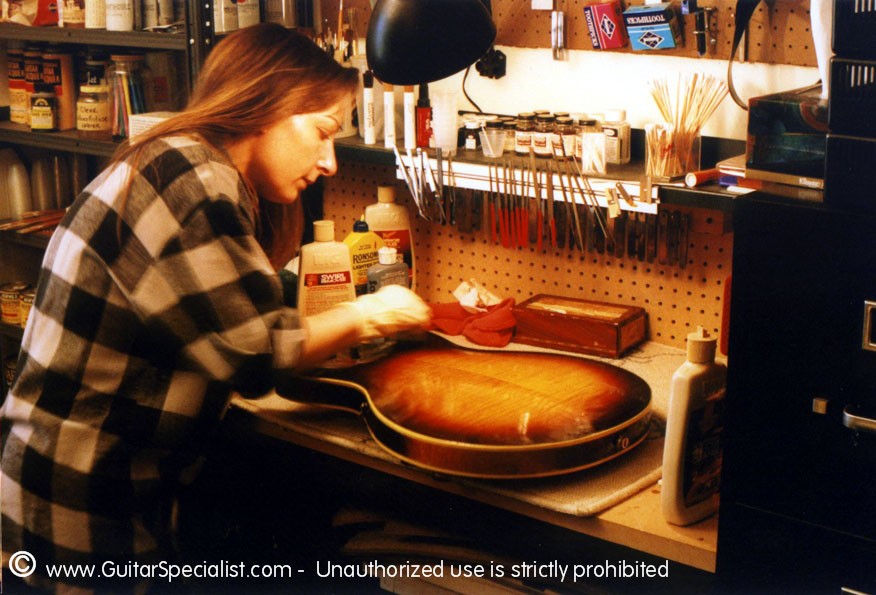 Here is Sharon working up a sweat - compounding the finish to bring it back to life. (I'm in the office napping) Always give the guitar back to the customer looking better that when they dropped it off - Even if it is only John Scofield |
 Time for the final setup I like to take most of the standard measurements in playing position. |
 John likes a pretty stiff action - he also uses a pretty heavy set of strings |
 His standard set is as follows from high to low .013,.016,.022 (unwound) .032,.042,.052 |
 All healthy again - and playing great - John loved it. |
|
|
||
| John was back in the shop after his London trip. You might have noticed the small finish problem on the lower bout of the face - the top is actually beginning to de-laminate - we didn't have time last visit to take care of that for him but he left us the guitar to take care of that this time - I can't wait to play it again .. | ||
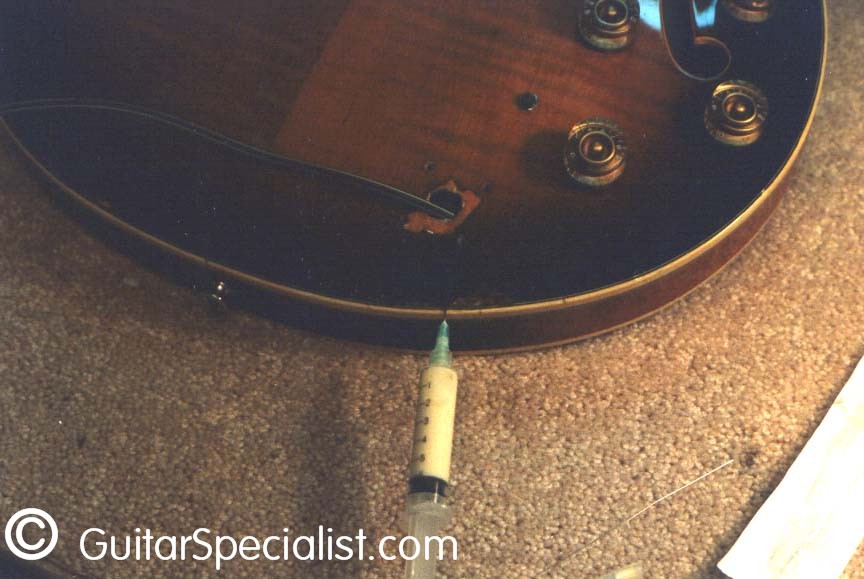
 John's Ibanez had this bad scar near his output. He said that he was told that it was just cosmetic and not a major concern. |
 You should have seen the look on his face when I did this. Hardly just a cosmetic problem. |
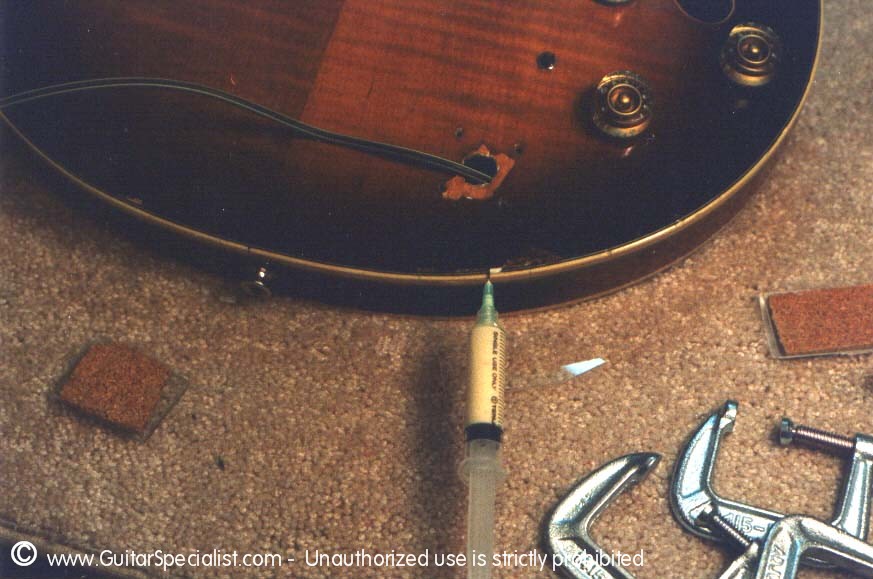
 The top was de-laminating clear up to the output jack for a good five or six inches. |
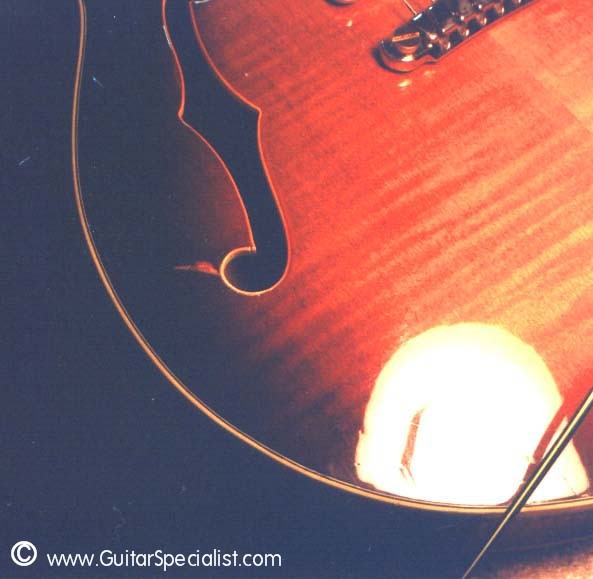 There was also a nasty scar near his f-hole where the finish was peeling - we'll take care of that later. |
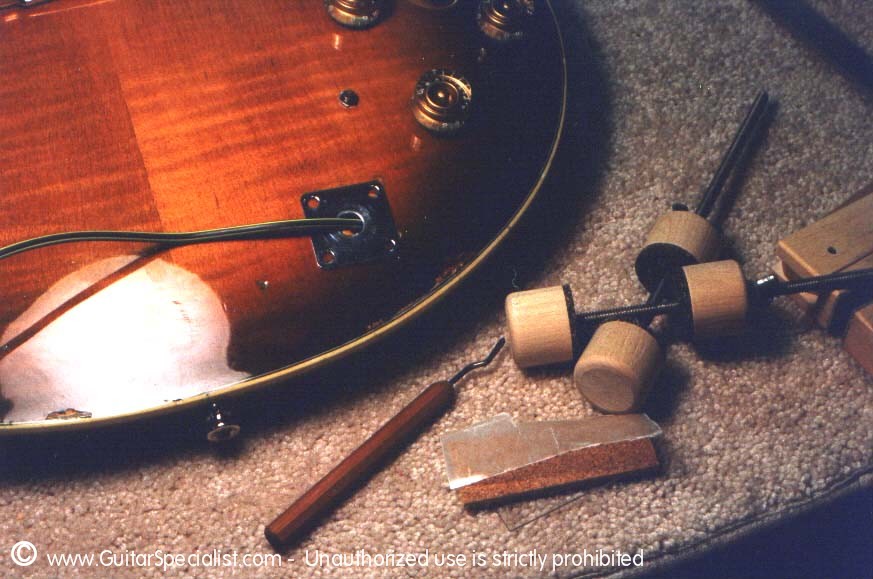
 Back to the crack - Even this tiny needle was too bulky to slip between the laminates of the top ... |
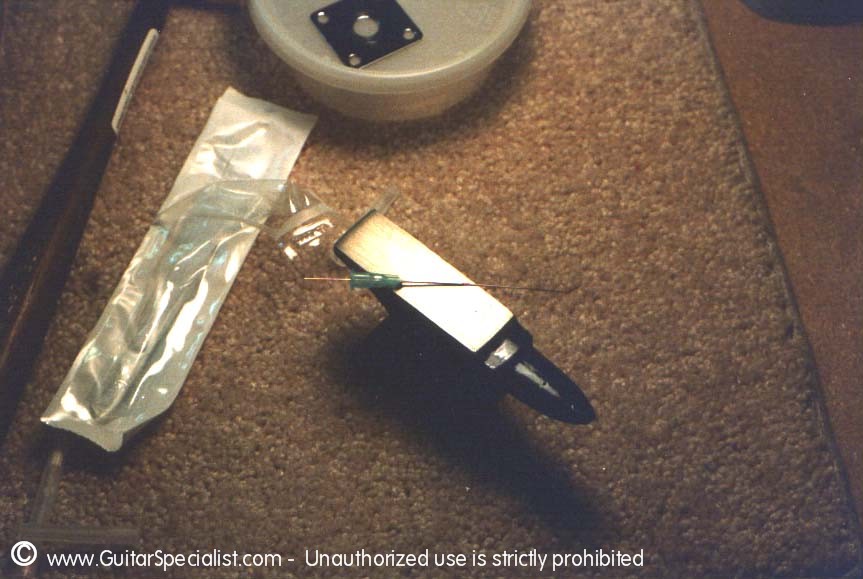 ... so in order to get glue deeply enough into the crack, I slid a thin (.009) e string through the needle and ... |
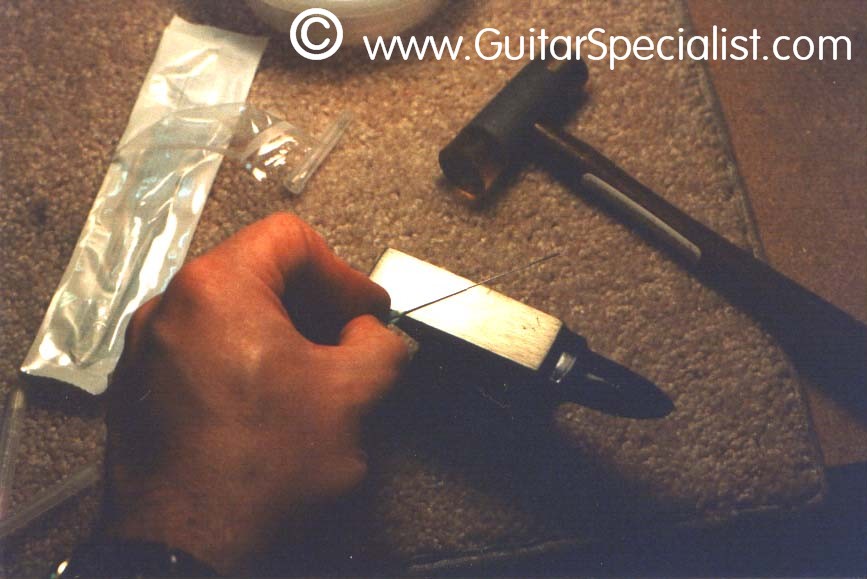 ... hammered it flat on this tiny anvil (cute isn't it) The string will keep the needle from closing up when I hammer. |
 Now it is flat enough to fit in the hole without pushing apart the ply. |
 Starting to get some squeeze out. Reminds me of those old ketchup commercials. Or is it catsup? |
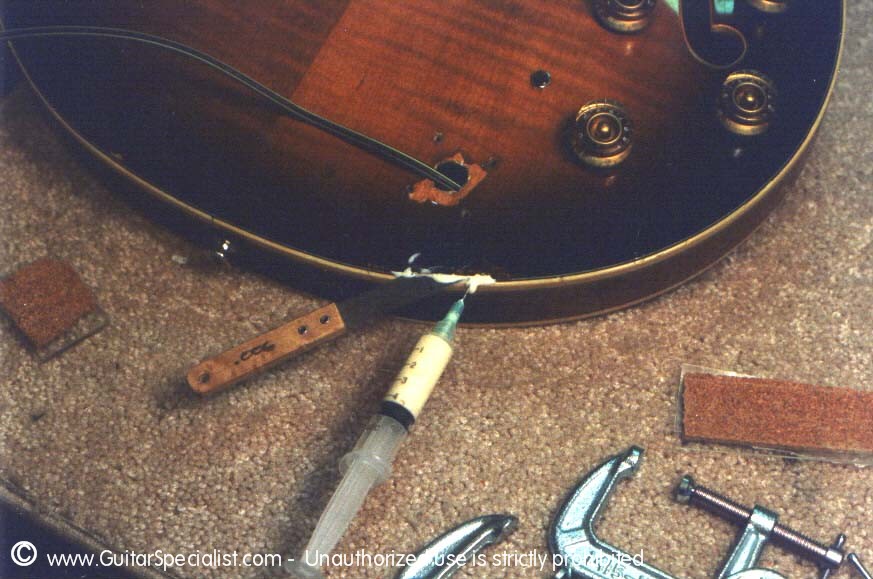 I can also work the glue around with this little .006 palate knife (Mike at woodshed design made a whole set of these for me - I use them for all sorts of things) |
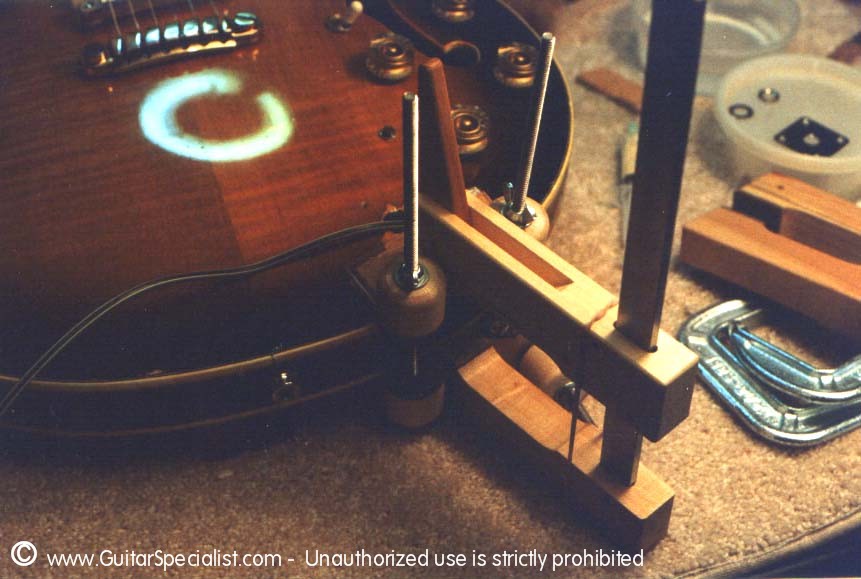 All clamped up and no place to go. |
 The clamps are removed and the remaining squeeze out is cleared with this little chisel. |
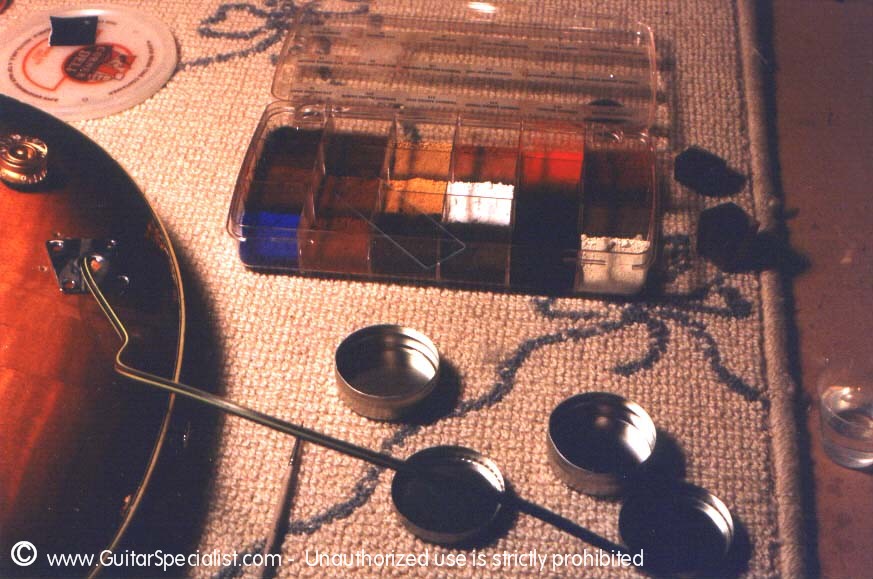 Now to make it look good. These dyes and pigments are what I normally use for touch up work. They are great. |
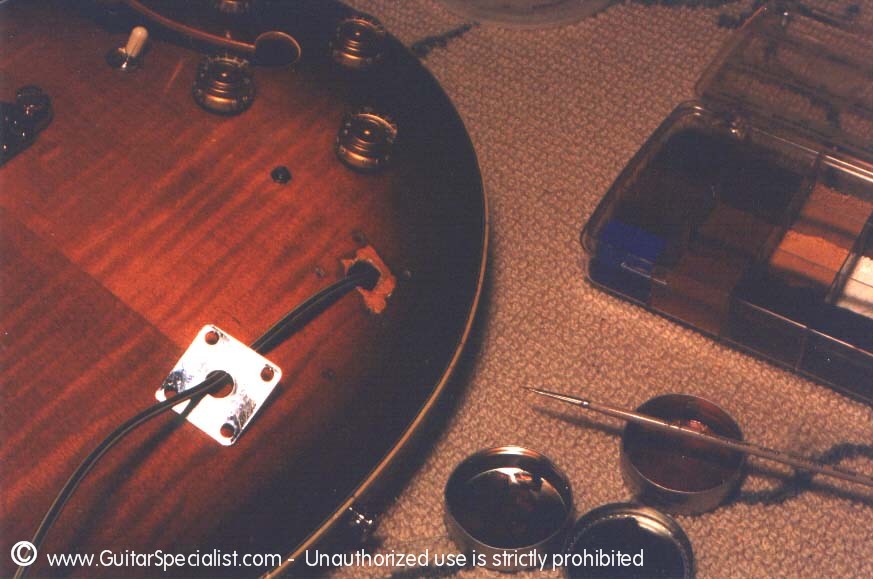 After careful mixing to try and get the colors right. |
 The chip near the F-hole came out pretty good. |
 In fact the whole job went rather smoothly. |
It is a great pleasure and honor for us that so many great players trust us with the well being of their instruments. |
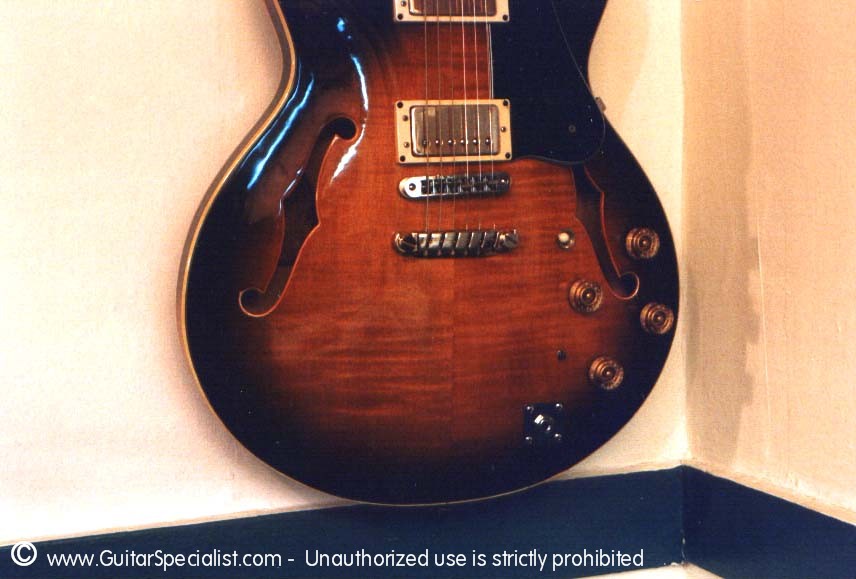
 Ready for another 20 years of incredible music from an incredible player |
|
|
||
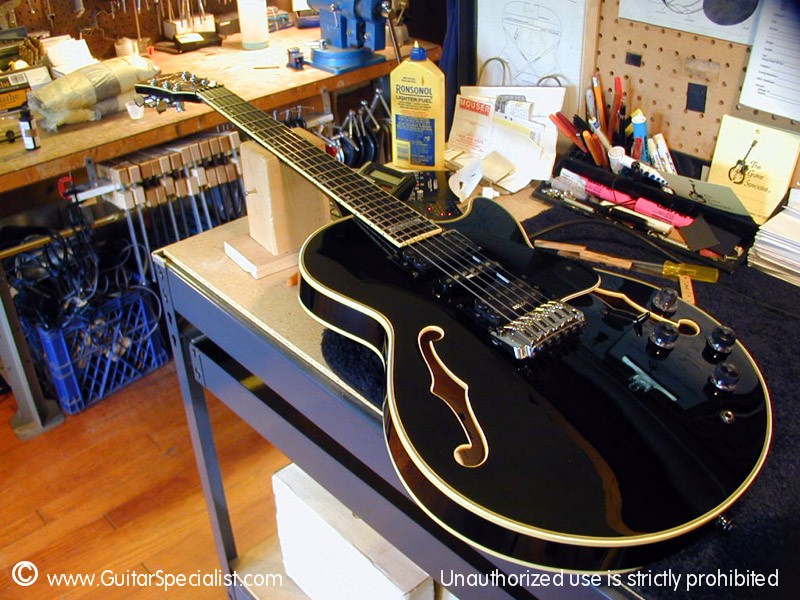
| Although John is practically inseparable from his Ibanez AS200, he does have other guitars. Here we see him pictured on the cover of his CD "Flat Out" with a Custom Ibanez GB Model. |
 |
He admits to not using it much - but wanted to start playing it a bit more. It is an interesting guitar in that it is a thin line archtop - with a tremolo. How's that for strange. |
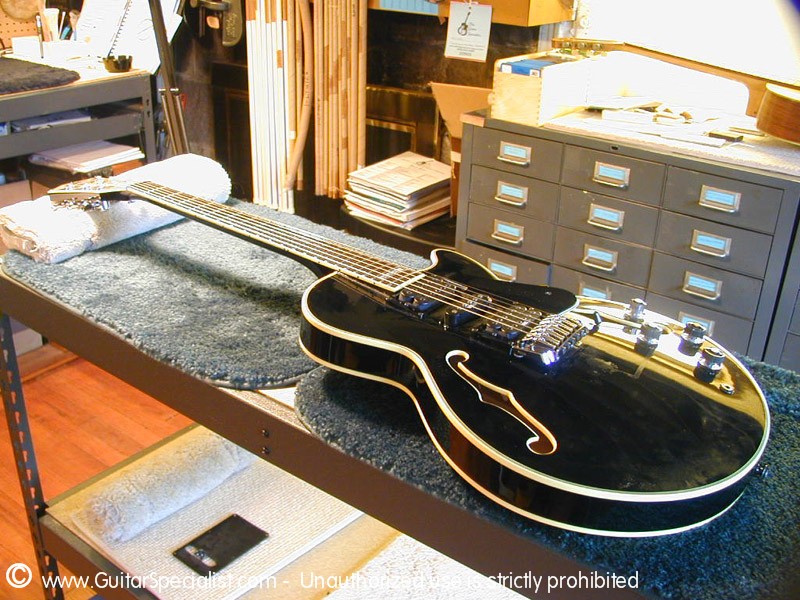 John brought this one in for some TLC and to clear up a few problems he was having with it. |
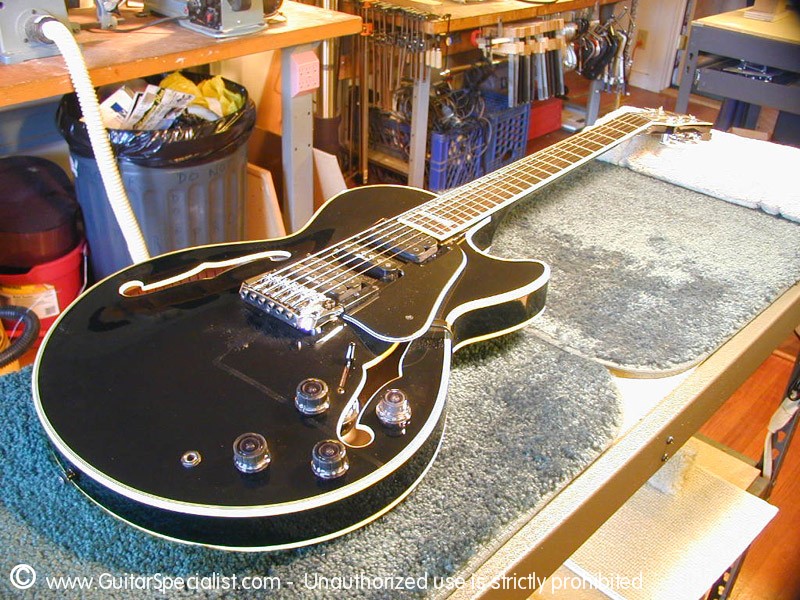 You can probably see from this picture that it has been a bit neglected. |
|
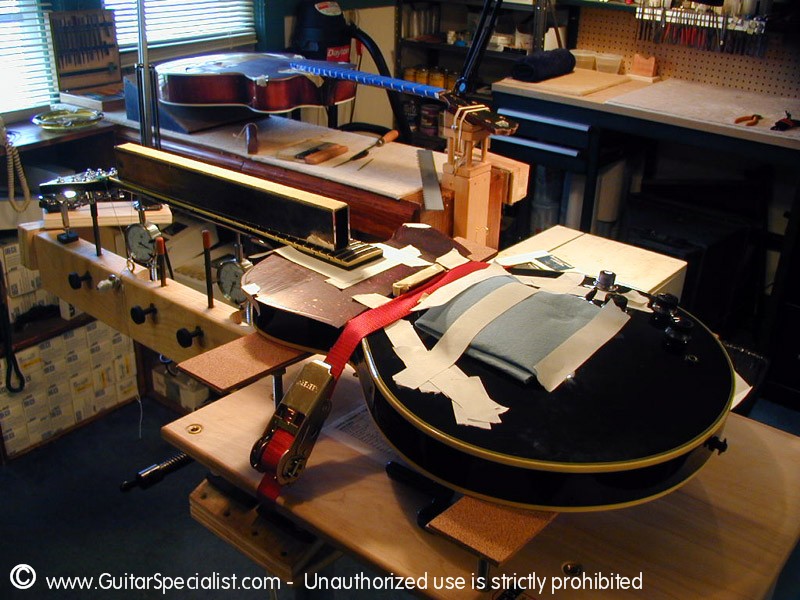
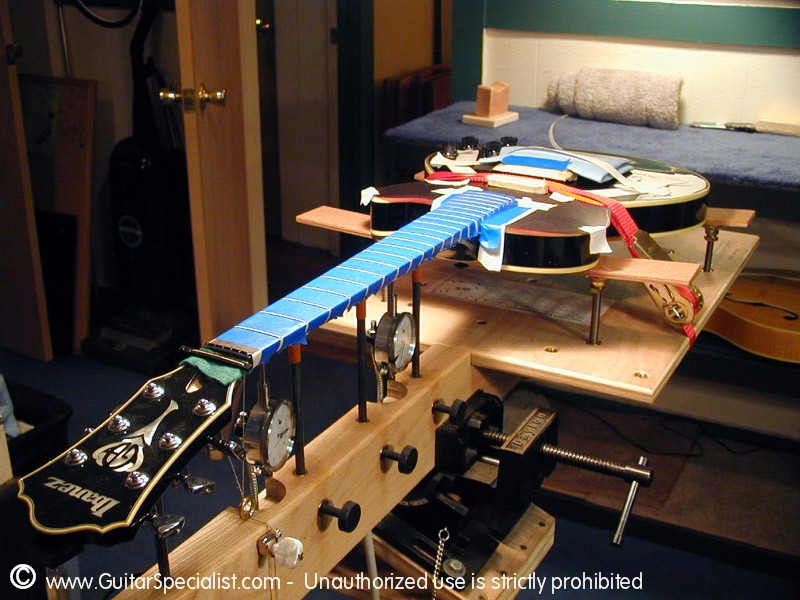
First
thing we needed to take care of was the frets. A quick trip into the neck
jig will let us get the frets perfectly even while simulating string
tension on the guitar Notice that the jig tilts into playing position - this way we can get the neck dead straight - with the strings on - up to pitch and in the normal playing position. |
||
| Then the jig gets turned upright to do the fret work. The strings come off and the jig gets adjusted to match the tension of the strings in playing position |
 We tape of the guitar and protect any areas that are at risk and we are free to level the fret tops as if the strings are still on the guitar. |
This is one of the best investments I have ever made for the shop. It really makes a difference in the consistency of your fret work. |
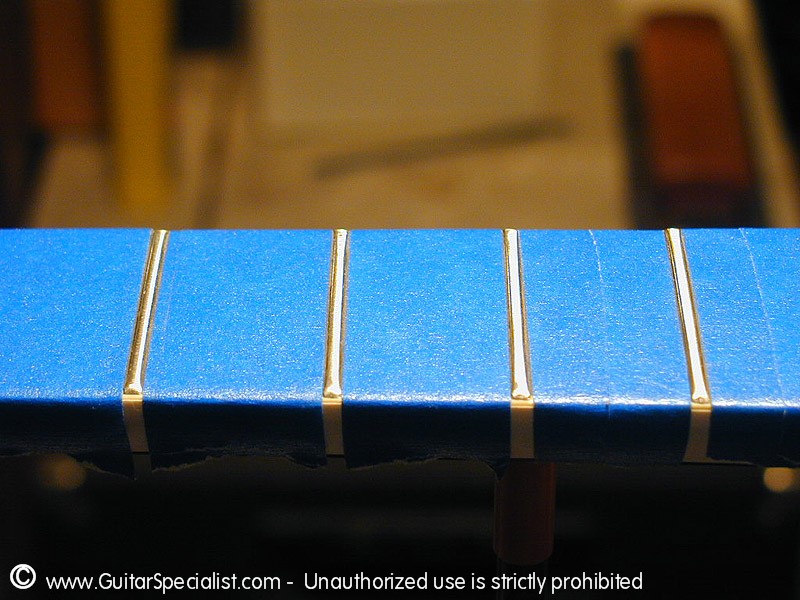
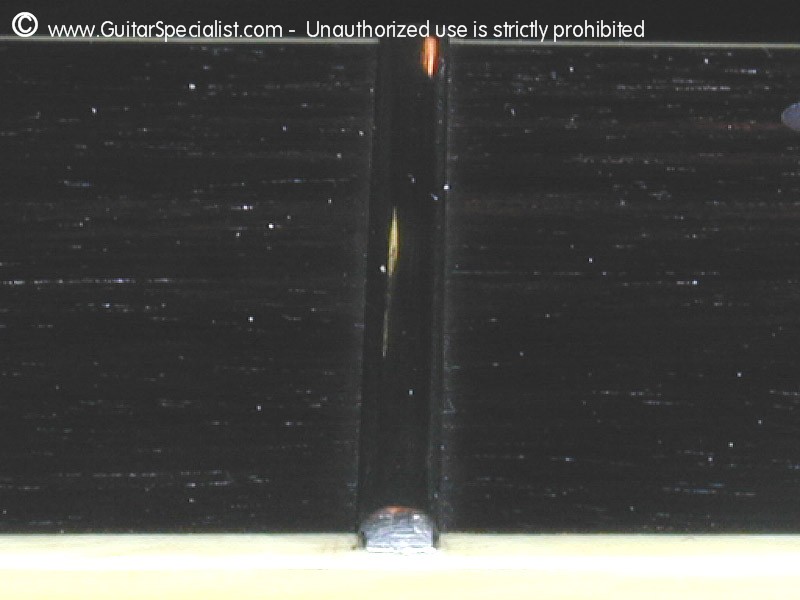
 Here is a fret that has been levelled. |
 You can see the small "flats" at the top of each fret. They are level and ready to be taped and crowned. |
 Here we are all taped up This is a time consuming step - but a I like the peace of mind knowing ... |
 ...That the fingerboard is protected just in case the triangle file gets away from me while crowning |
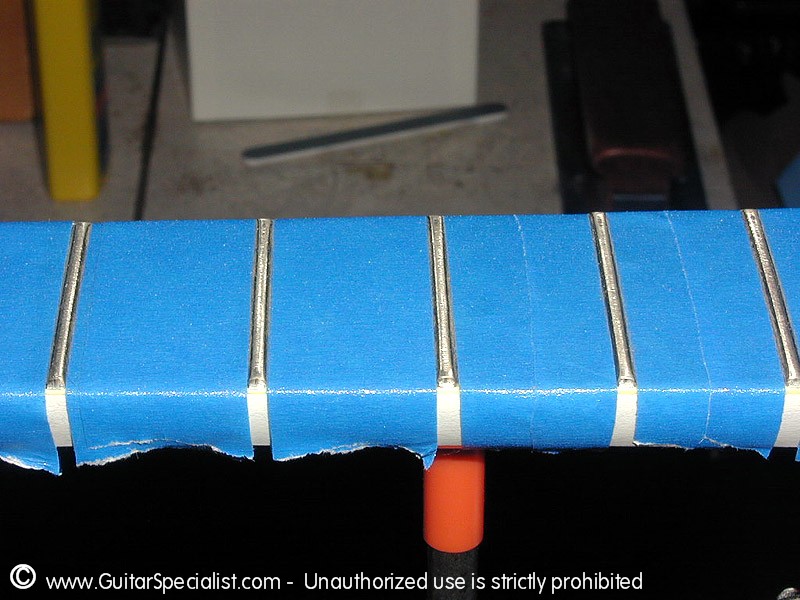 If you look close you can see the white "low tack" tape we use to protect the binding. We place that tape down first - then tape up the board with the blue tape. I have always been of the opinion that there is no excuse for not handing a guitar back to a customer that doesn't look as good if not better than when they gave it to us. |
 A Crowned Fret |
 These have not gotten the final polish yet - there is still more work to be done on this guitar - |
 You can see the difference in the crown of the frets they are round again. |
|
 A good crown on your frets makes for much better intonation - |
 - Not to mention a buzz free/level paying surface. |
 Here is a shot of well crowned and polished frets. |
|
The Other main complaint that John wanted us to correct was the tremolo. It seems that Ibanez though this would be right up his alley. John said he never used the tremolo |
 and he asked us if there was a way to help it stay in tune better |
I suggested that if he doesn't intend to use it we should just "block" the bridge - in effect converting it to a fixed bridge. |
 It is a fairly simple job - you just have to make sure that the tremolo is stable in it's optimum position |
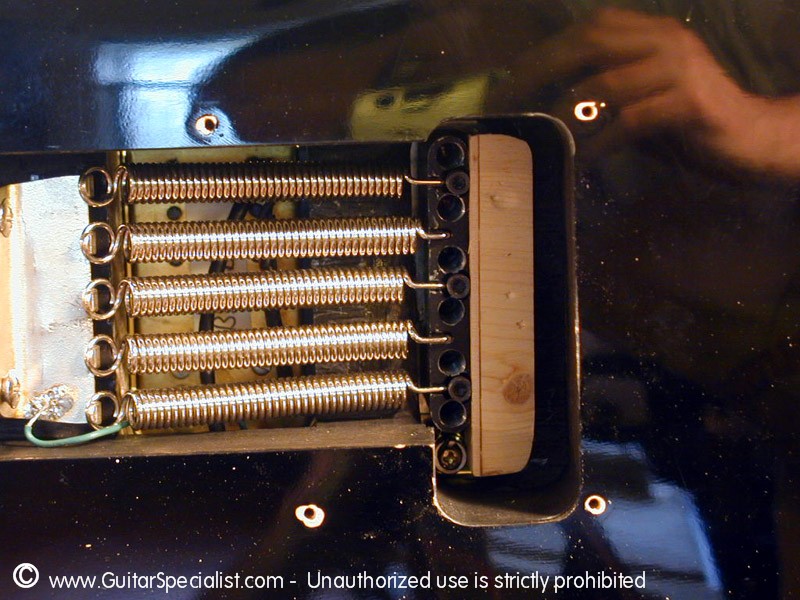 A decent piece of Maple will ensure that the bridge doesn't budge. This bridge ain't goin' nowhere. |
|
 After setting up the guitar to John's usual specs - the guitar is ready to Rock & Roll again - Or is that Jazz & Roll. |
||

![]()
|
(914) 401-9052 |
|
|
|
� Copyright 1998 - 2019 and beyond |