
Back To


Please Be Patient
The thumbnails may take some time to load.
Click on any picture to see a larger version
![]()
|
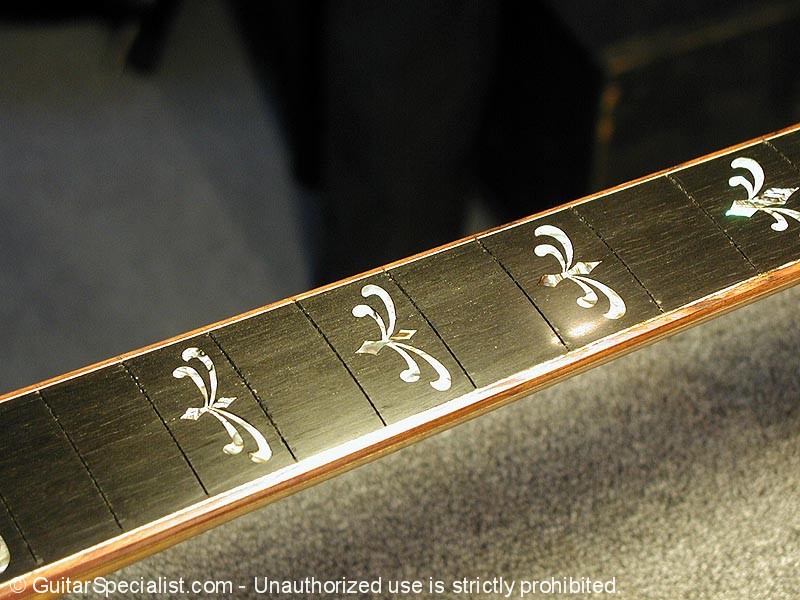
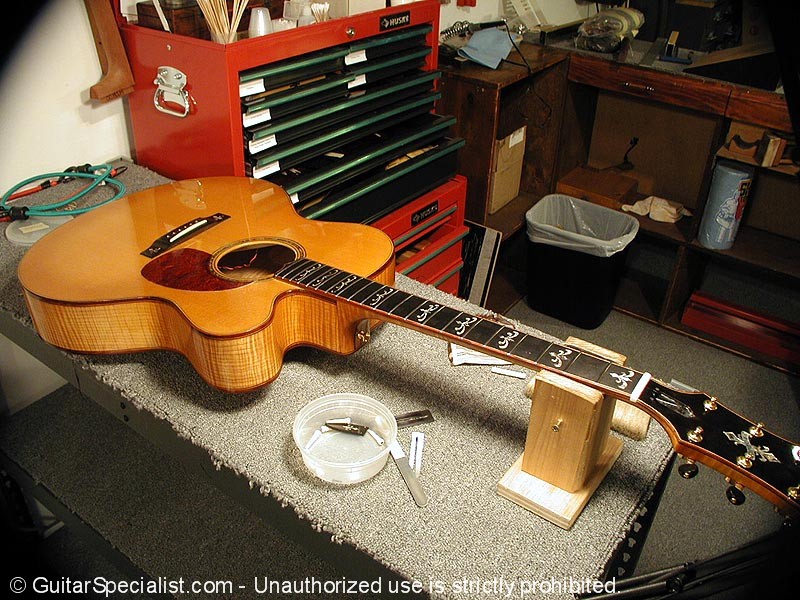
The first guitar Paul brought in was an acoustic guitar built by Jimmy Foster.
|
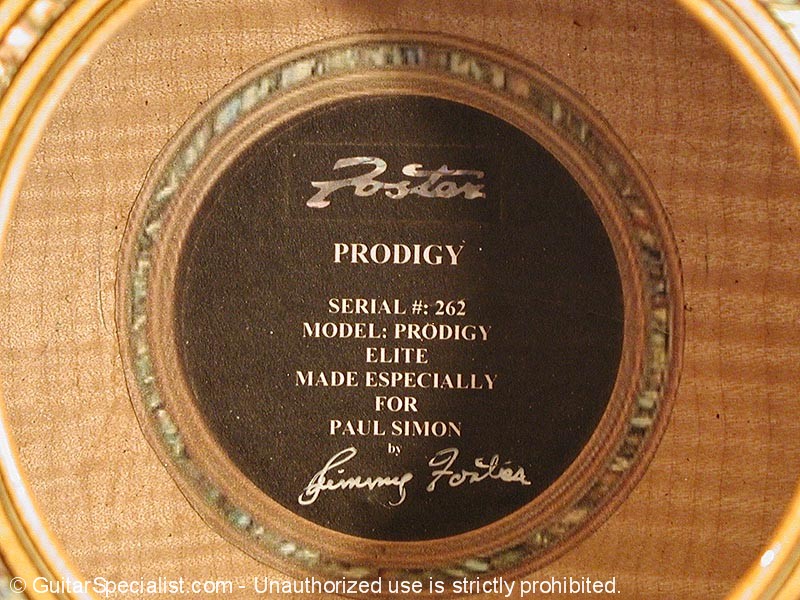 |
We are intimately familiar with Jimmy's guitars, having owned two of them at one time and having worked on a great deal of them over the years |
| Jimmy is a single builder who has done fairly well for himself. He builds beautiful instruments and his instruments sound uniquely like a Foster. A distinction rarely achieved by most small builders. |
 OK onto Paul's guitar. |
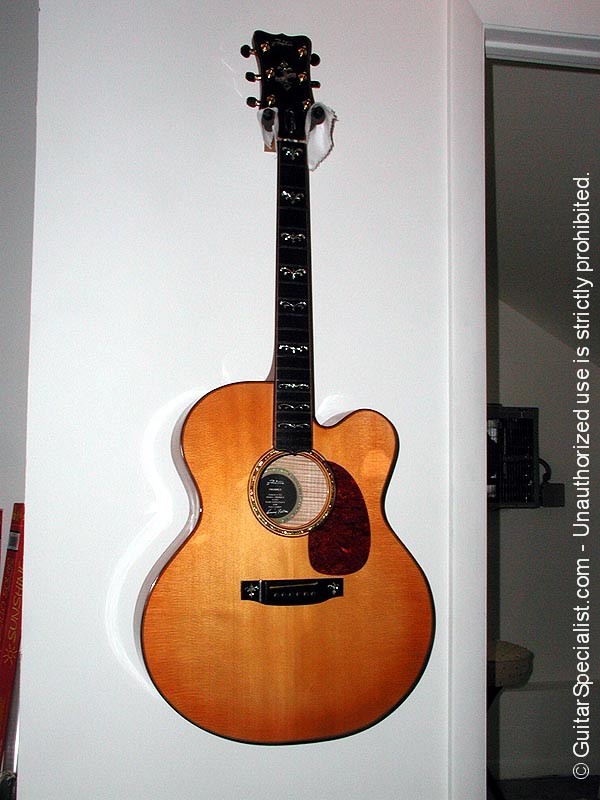
Paul liked the instrument very much - he thought that the instrument could play better than it did. The guitar was somewhat difficult to play and there was quite a bit of fret rattle. A re-fret was in order. |
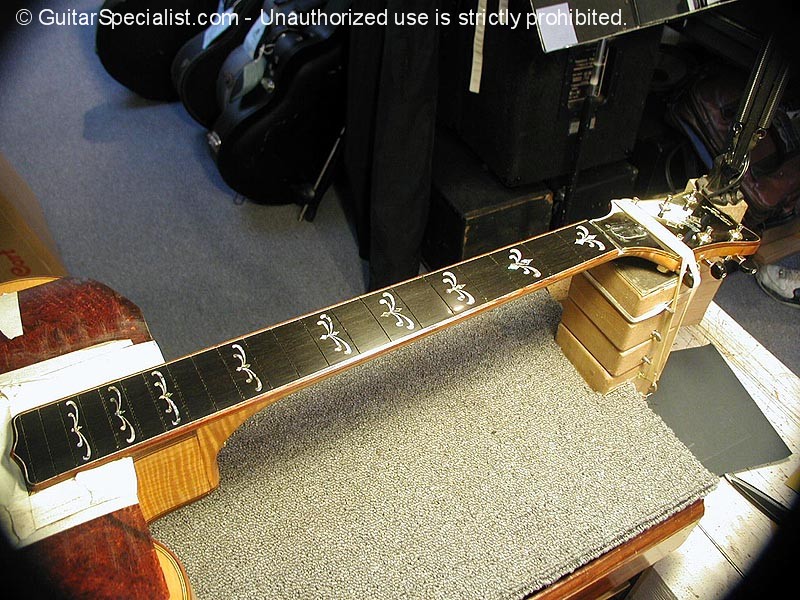
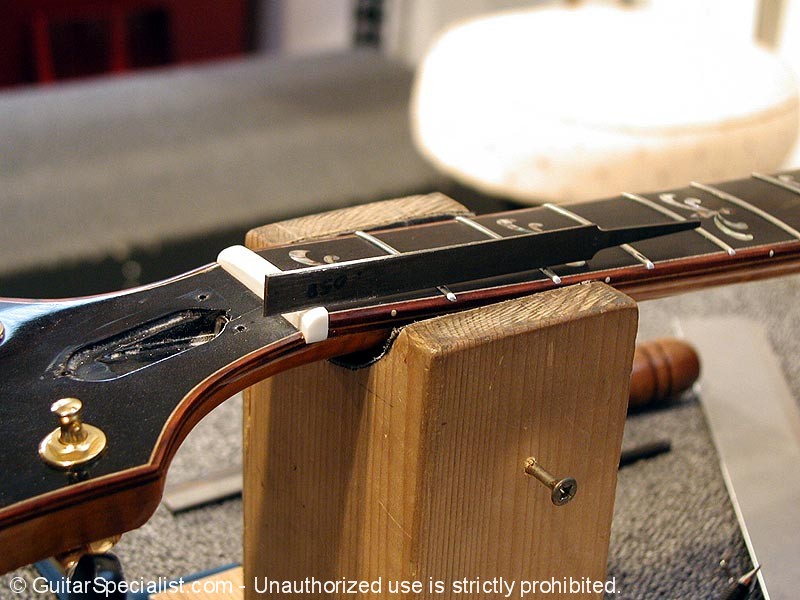
 Here is the guitar before we began. Paul said it was difficult to play. |
 I'll say - the action is about twice what I'd like to see for one of Jimmy's instruments. |
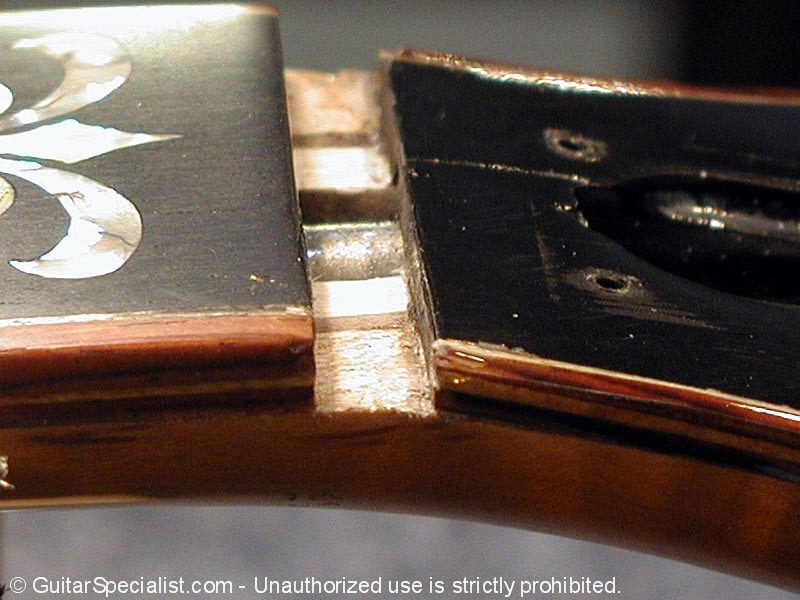
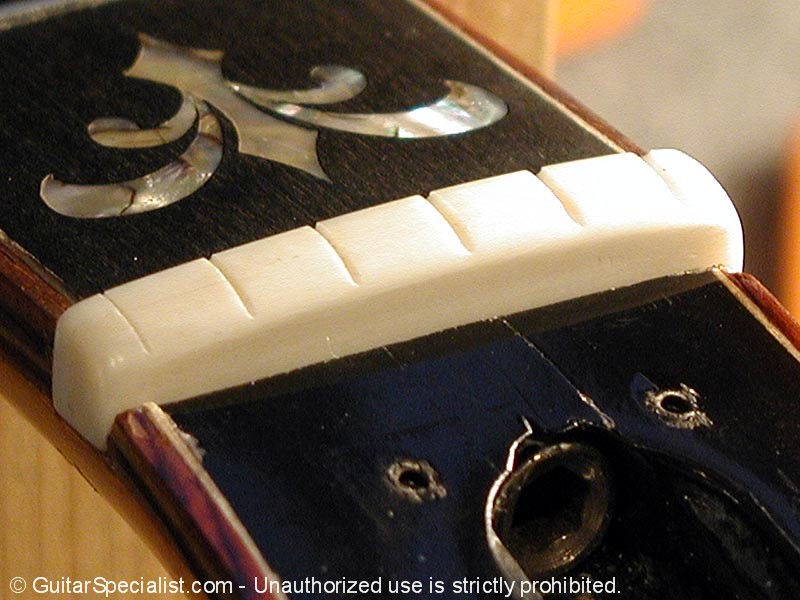
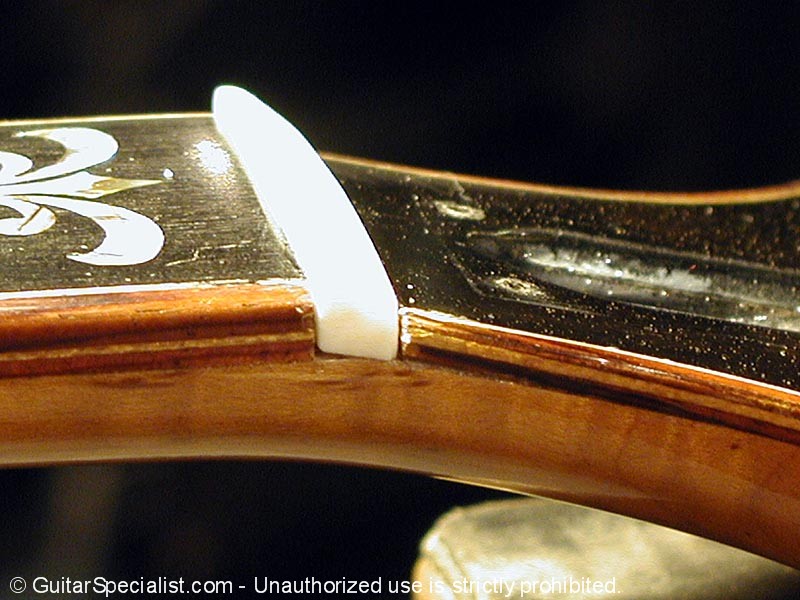 Here is another problem I had - The nut sat very poorly in the nut slot. Lots of gaps. |
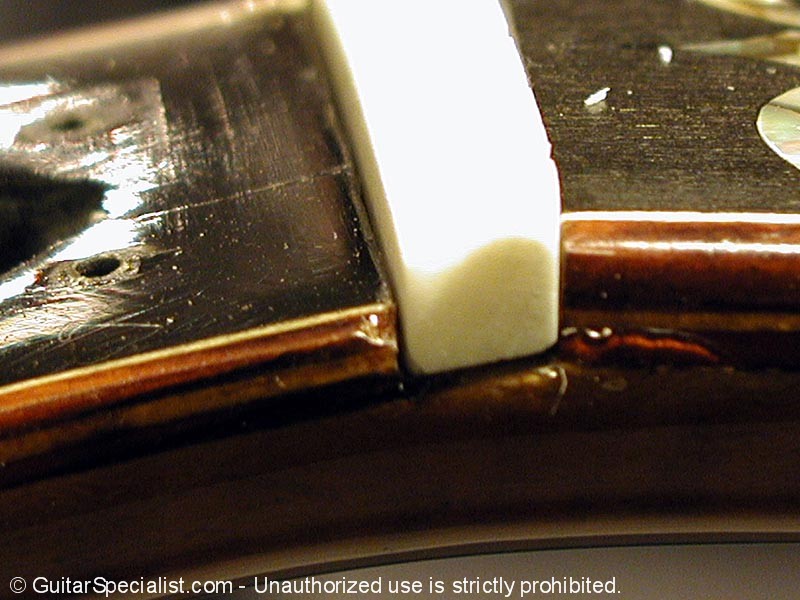 Let's take a close look at the bass side - just as bad. This can't be very good for tone. We'll take care of that. |
As I stated earlier a re-fret was in order. the frets were not seated well and there was some warping in the fretboard. I skipped the usual pictures of fret removal as there are so many other places on this site that you can see that. |
 After removing the frets we found a great deal of glue in the fret slots. I have never been a big fan of using glue in fret slots - I don't think it's really necessary. |
| Not that there isn't a place for it in the pantheon of fretwork. I've been known for using glue to help seat a stubborn fret - but as a rule I don't like the idea of gluing in frets. | ||
 I have said it time and time again but it is so important that it is worth repeating. the key to great fretwork starts with fingerboard preparation. Start with a perfect fretting surface and you'll be that much closer to the perfect re-fret. |
 After leveling the board we are ready to take care of those fret slots. As I stated before they were fill of glue ... |
 ... but now that we took off some material from the fingerboard face we have to make sure that the slots are deep enough to accept the wire. |
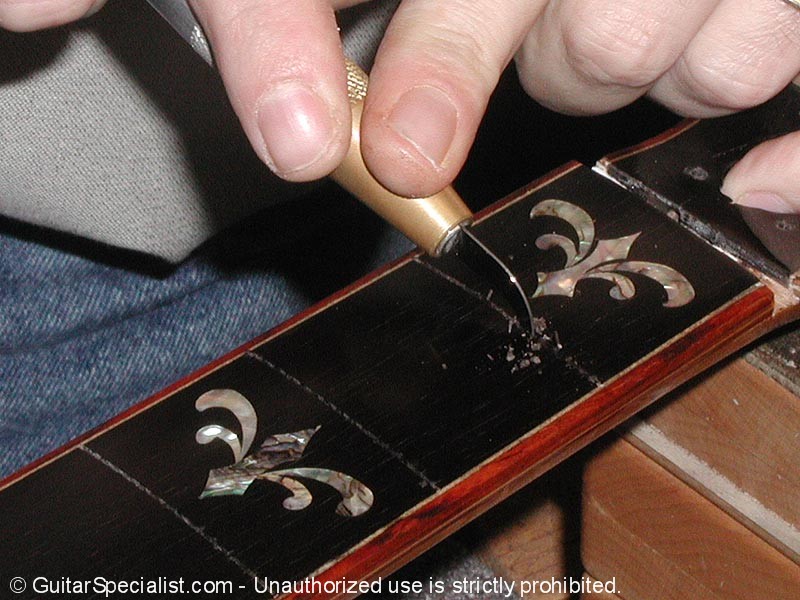 We'll start by digging out the glue from the slots. Here I am using a great little tool which is perfect for the job. It's basically just a hook and very sharp and very thin but very strong. I use it like a miniature back hoe. clearing all of the fret slots is a bit tedious but well worth the effort. We have an attachment to our dremel tool that will do this job in a fraction of the time - but to be honest I don't think it does as good a job - besides I am not sure I'm real comfortable with using a tool that spins up to 30,000 rpm in or even near fret slots. |
||
 Here is another great tool. A miniature saw with two parts. Just big enough to saw inside the binding for cleaning out and deepening fret slots |
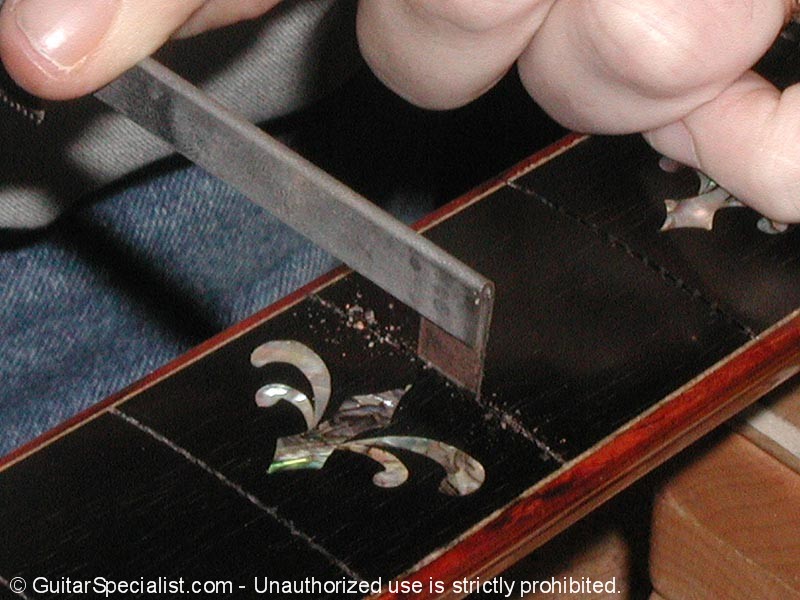 The saw cuts on the pull stroke on one of the cutting surfaces ... |
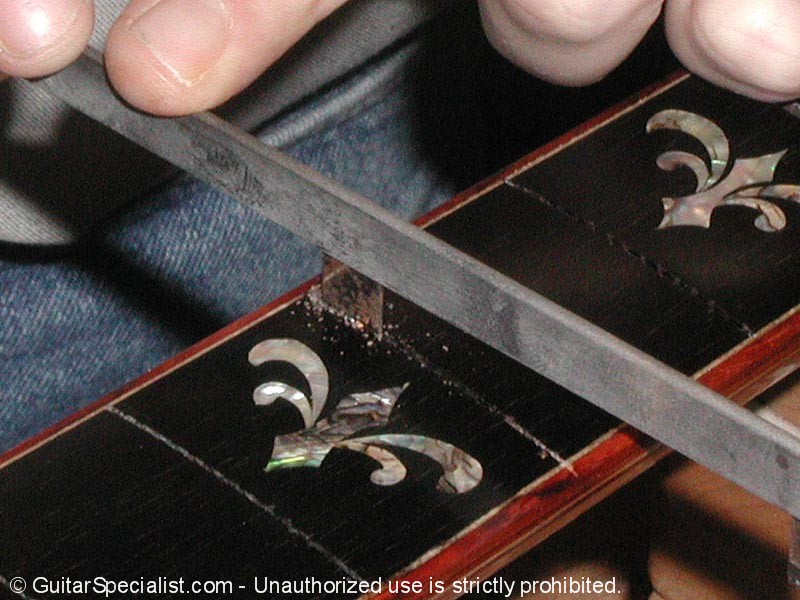 and cuts on the push stroke on the other. Perfect for controll when cutting and trying to preserve the binding on the neck. |
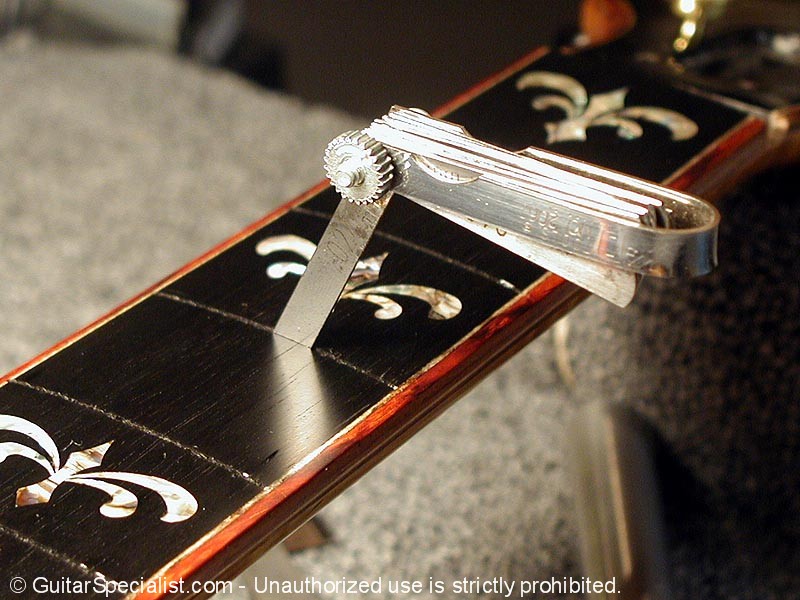
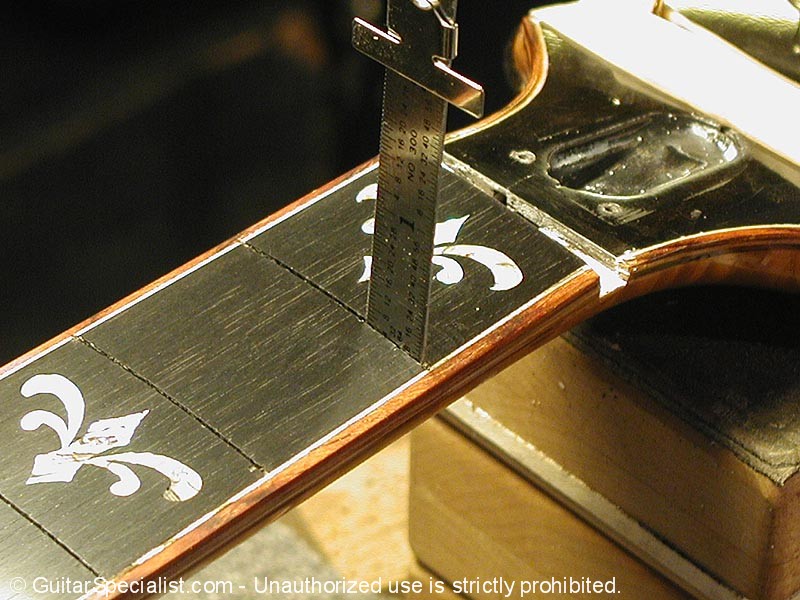 Now that the slots are cut, we will check the depth of the slots to ensure that the slots will accept our wire without bottoming out in the slot |
 We'll check each and every slot - we actually check while we are cutting each slot. But it always makes sense to check again - to be sure. |
 All the slots are now perfect - clear of glue, and ready for frets. |
 Before we put the frets in we'll polish up the board. |
 I never liked the look of dull ebony. |
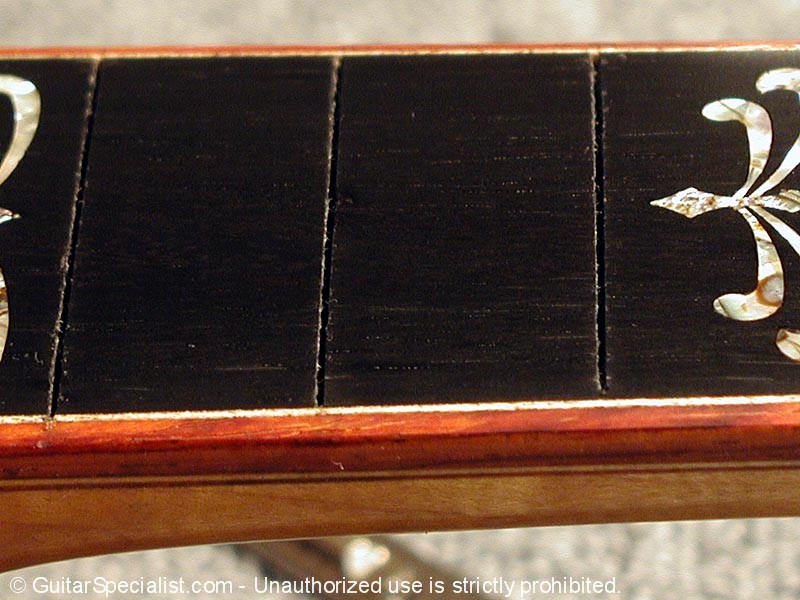 Here is a look at the cleaned out slots. |
 First we'll check the width of the slots before we choose the appropriate fret wire. |
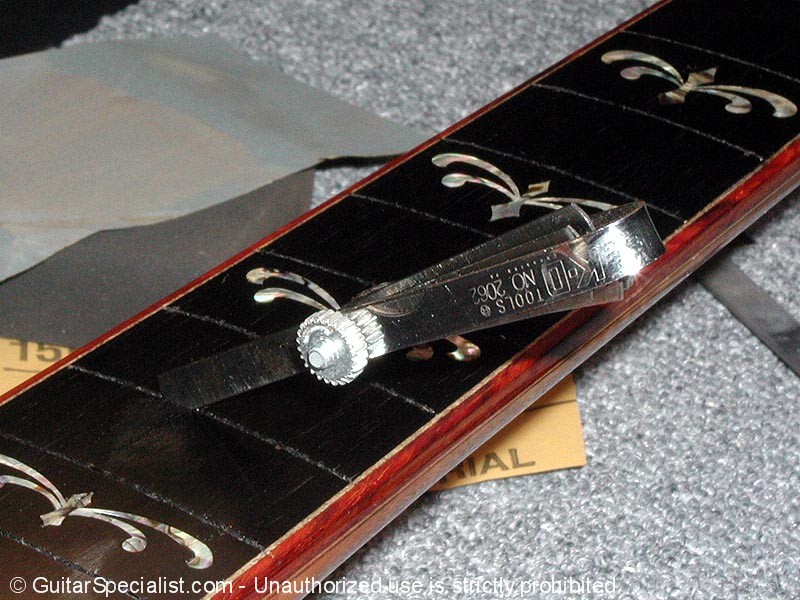 Fret wire is available with differing sizes of tang (the part that digs into the board). We'll want to match that to the fret slot width |
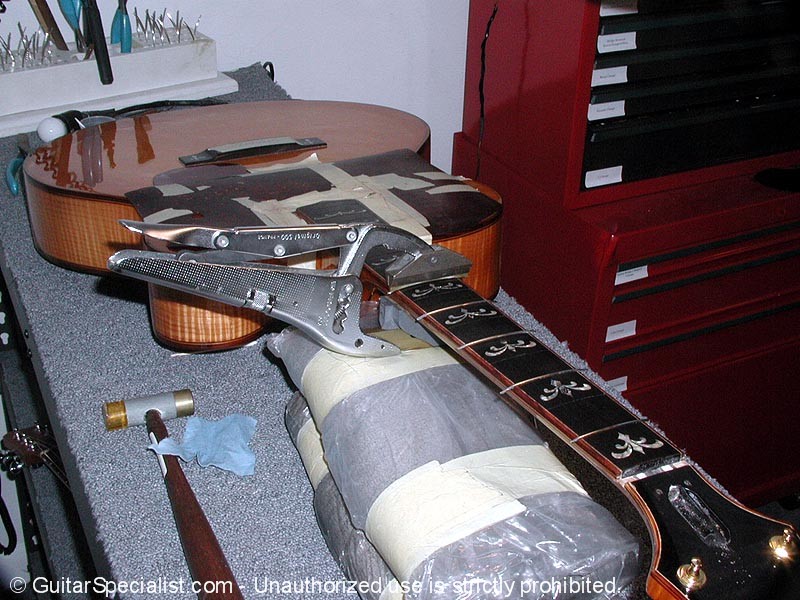 For ths job I elected to use "Jaws", a superb fret installation tool designed by Dan at Stew Mac. |
 It is a hand held fret press. Depending on the guitar I'll choose this fret installation method. |
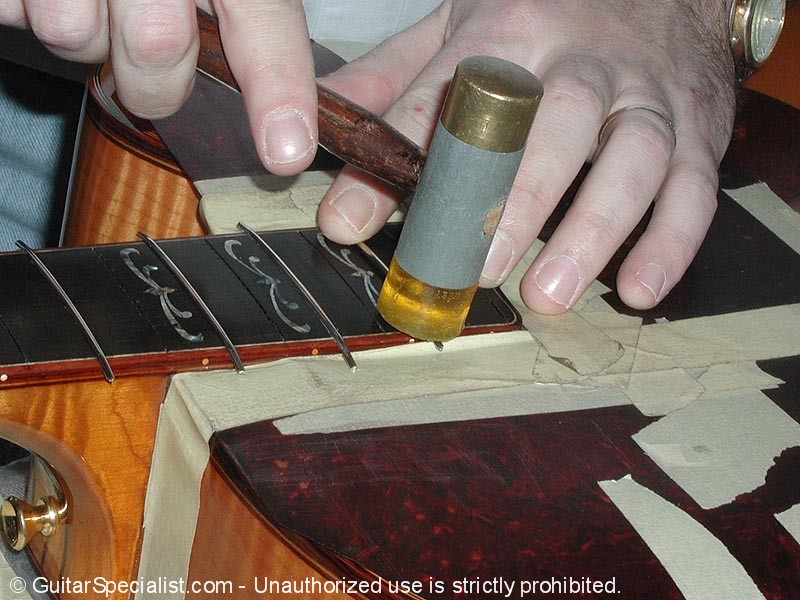 I can't use "jaws" over the fingerboard extension so I'll still hammer them in up here. |
 All in all I still prefer hammering frets in above all other methods of fret installation. |
 I always put frets in every other fret. This gives me a chance to read the neck and see how the neck is reacting under fret compression. |
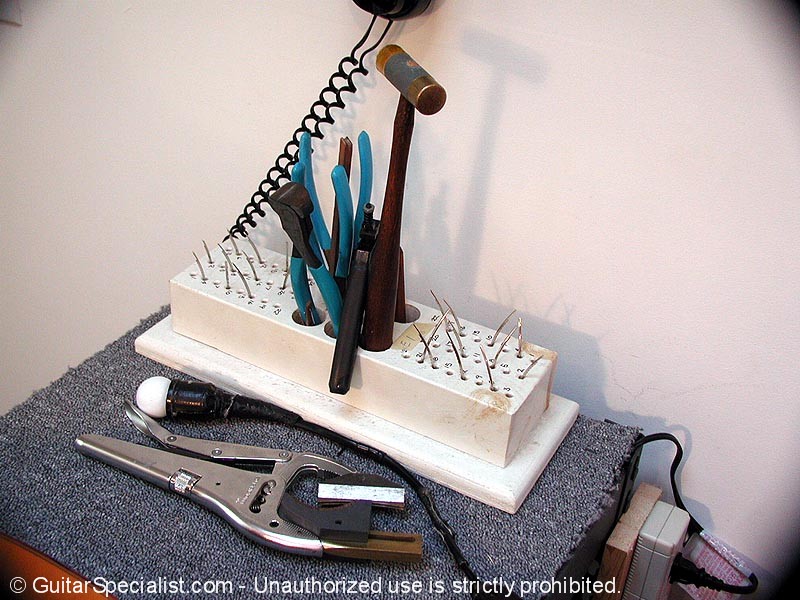 At the fretting bench, we have this neat little fret bay. Not only does it hold the cut frets for two guitars, but all of our tools for the installation. |
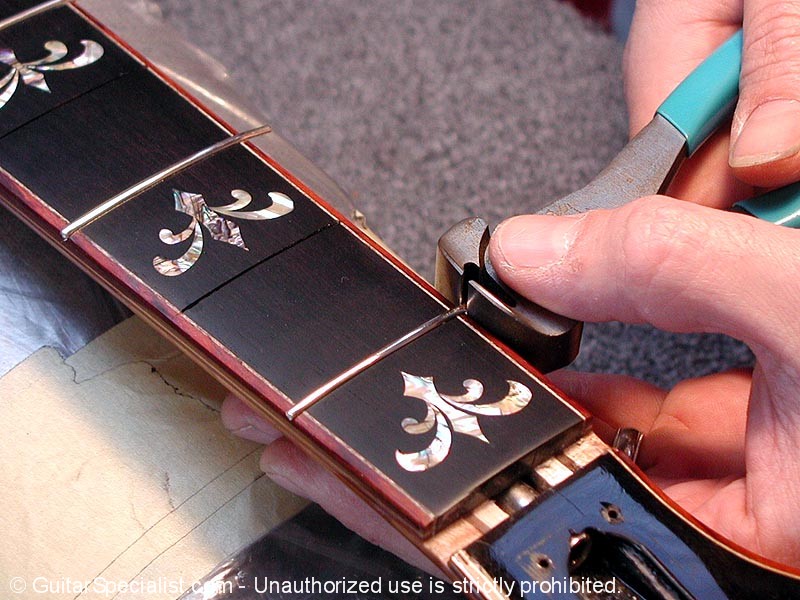 Now we'll cut the fret ends with a specially ground flush cutter. |
 Here is the other reason we fret every other - as we travel up the neck - the cutter wouldn't fit between the frets if we did them all at once. |
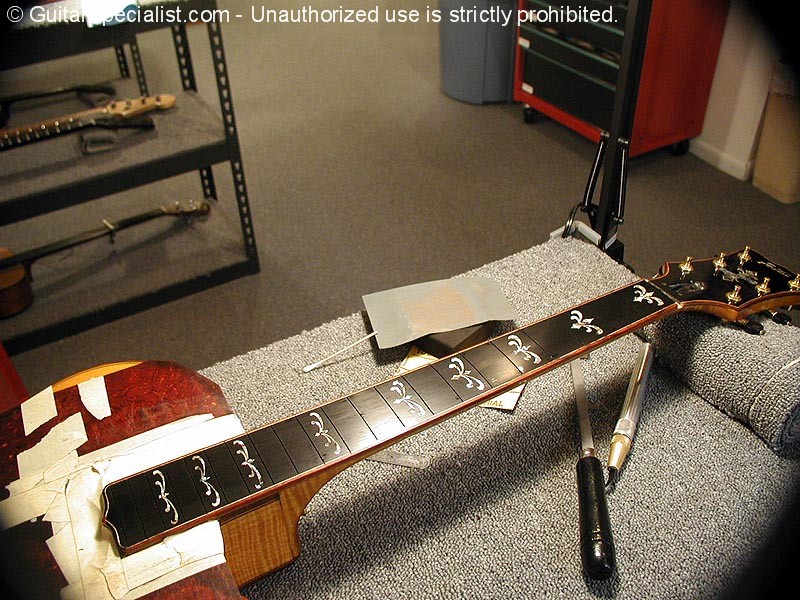
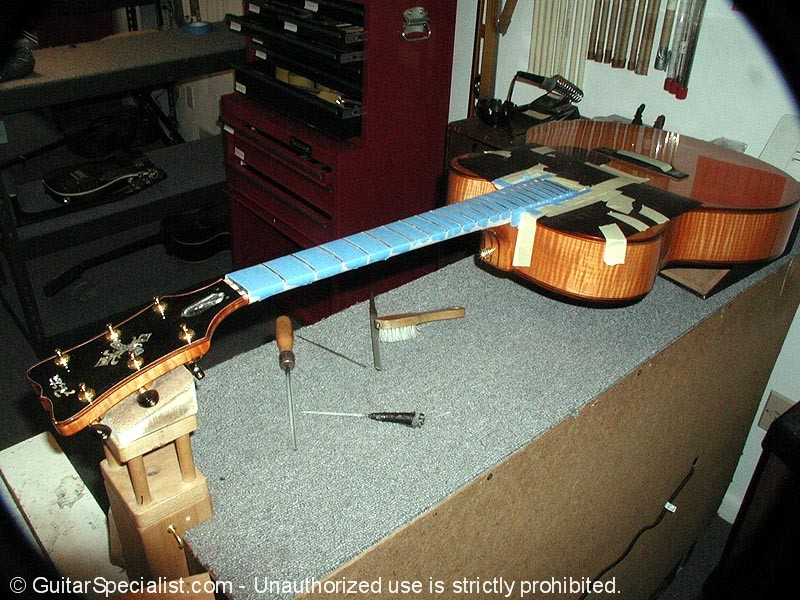
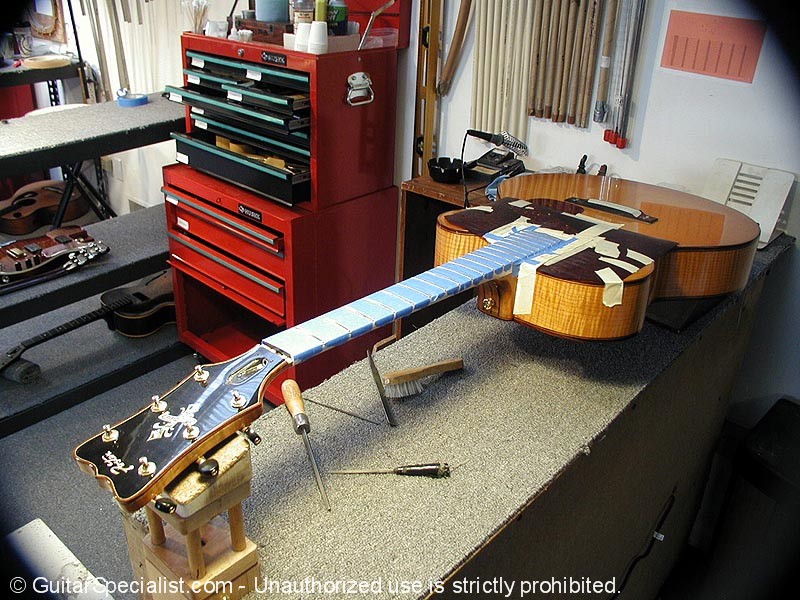 Here is the guitar with the neck taped up ready I skipped the pics of the fret leveling process - there are lots of places to see that at this site already. |
 We tape up all the fingerboards that have fretwork done to them. I am sickened whenever I see sideways gouges in a fingerboard because some so called guitar tech doesn't bother to protect the fingerboard. |
 We see a lot of boards come in with little gouges running along the side of the frets. As if there are some places that haven't heard of masking tape. |
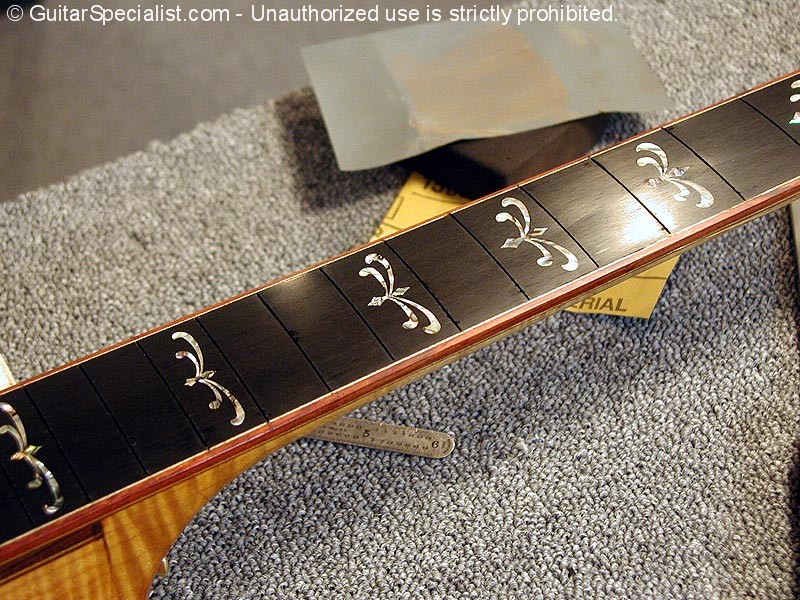
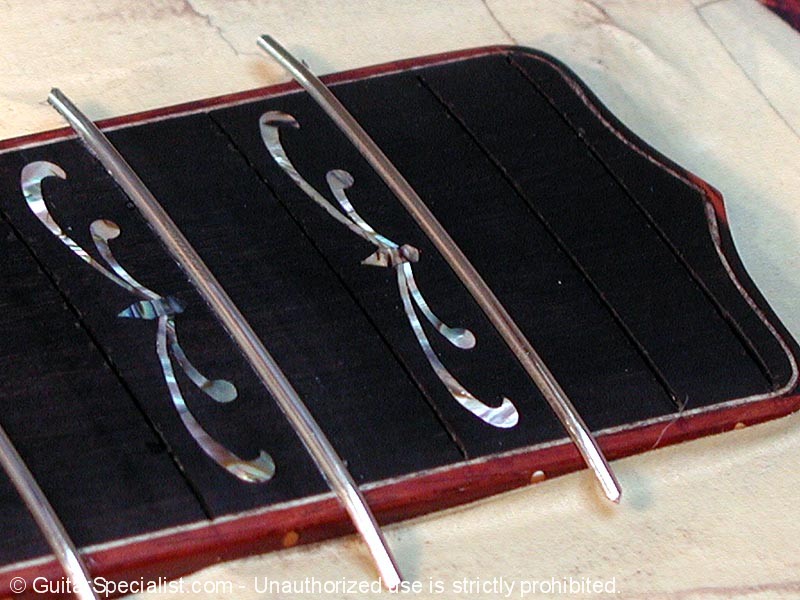
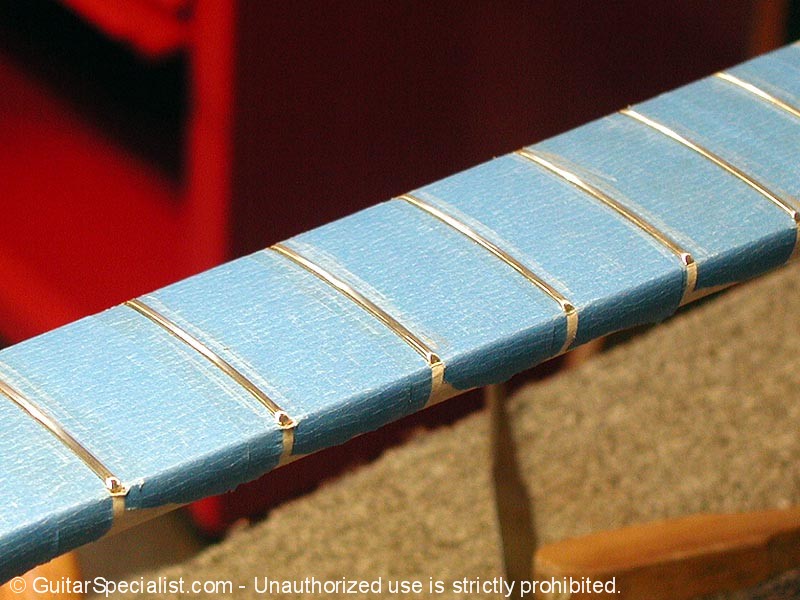
 Sorry - I am ranting here - back to Paul's guitar. The frets are all crowned and we are ready to proceed. |
 Here is a good look at the nicely crowned frets still awaiting the final polish. |
 OK - here is a really good look. |
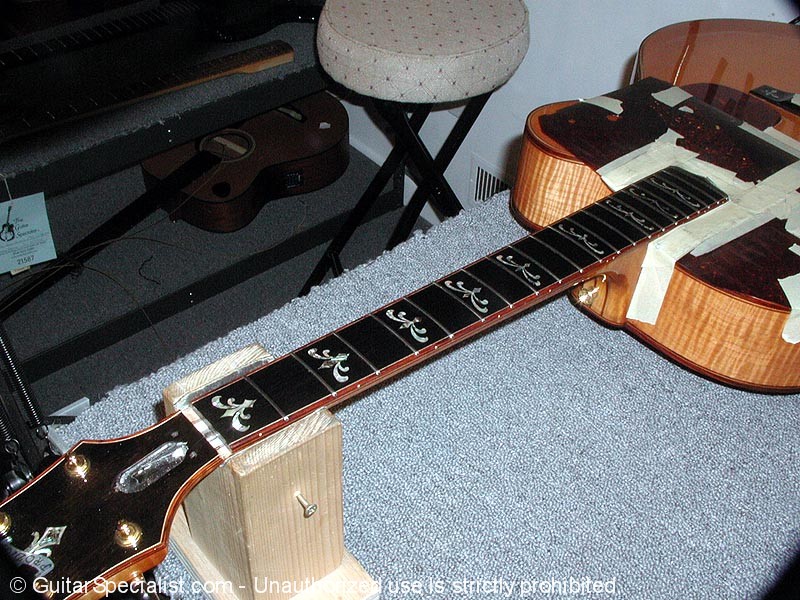
 A quick look down the fingerboard - just for fun. Did you enjoy that - good let's get back to work ! |
 Remember that poorly fitting nut? We'll take care of that. A good fitting nut is crucial for good tone and sustain. |
 Here is the roughly shaped nut cut from a blank. After we make sure it fits well and is nicely seated we'll cut the string slots. |
 We use specially made files for cutting string slots. Each file matches the string gauges used on a particular guitar. Not triangle files here - I hate the way that looks. |
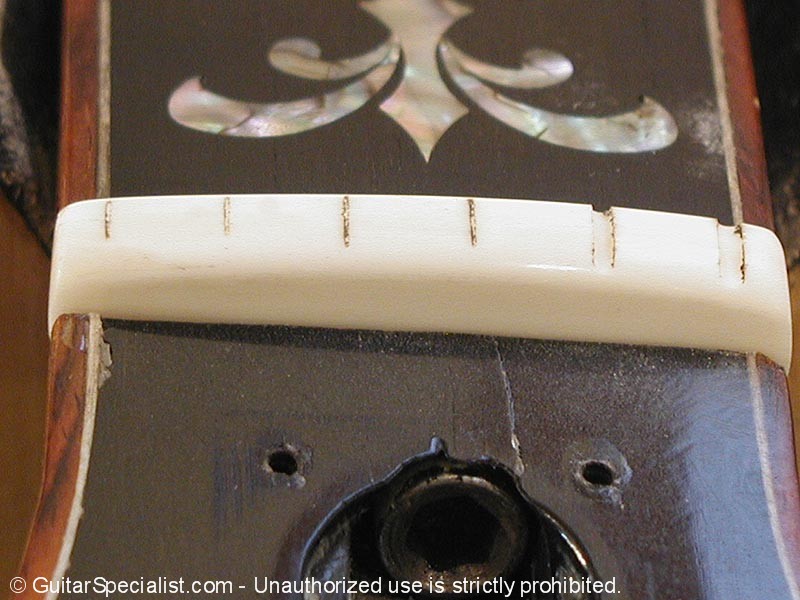 All the string slots are cut - I dirtied up the nut with a pencil so you could see the slots better. |
 Here is the nut cleaned up, polished up and ready for strings - lest you think we'd give Paul a dirty nut. |
 Now we'll do the final polish on the frets. We also made a new saddle - I'll show you the finished product in a bit. |
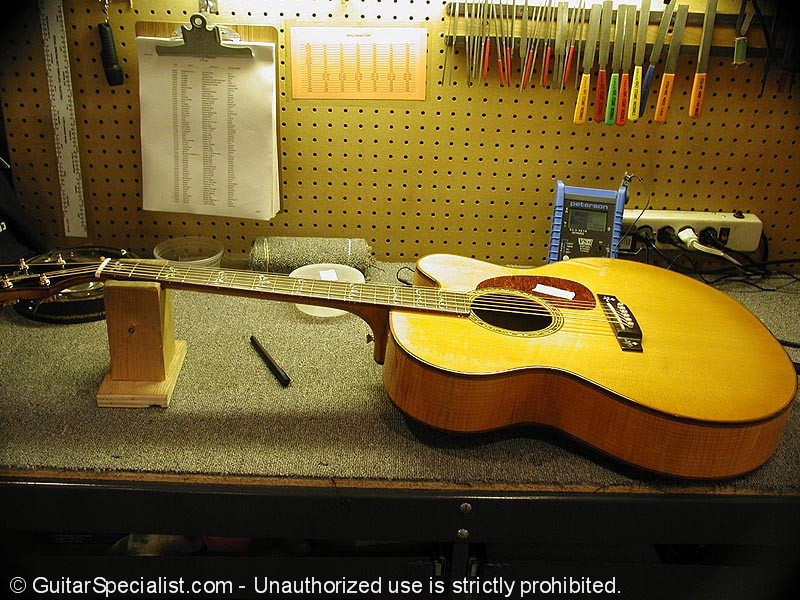
 All strung up and ready to be set up. |
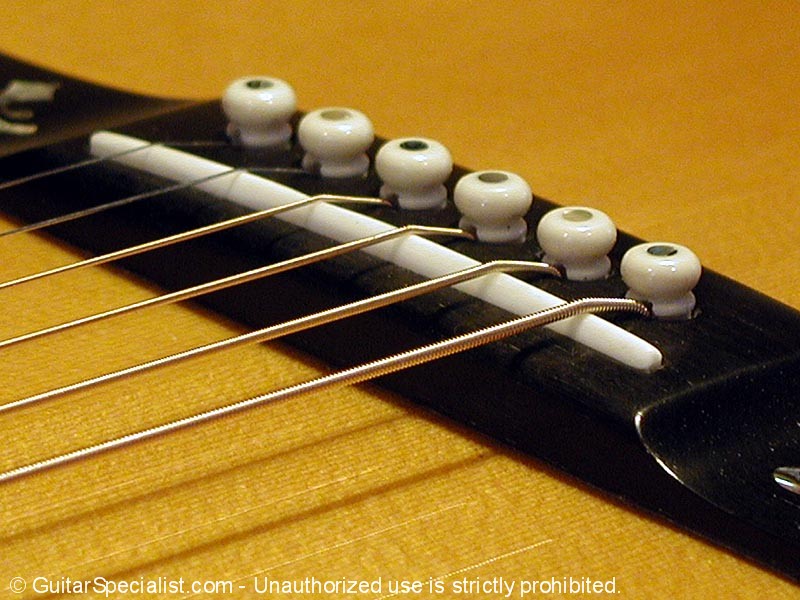 Here is the New Saddle I mentioned. |
 Hard to see in this picture but we compensated it to get the intonation just right |
 Our final action is much more desirable. now that the frets aren't a problem It won't buzz with action this low. |
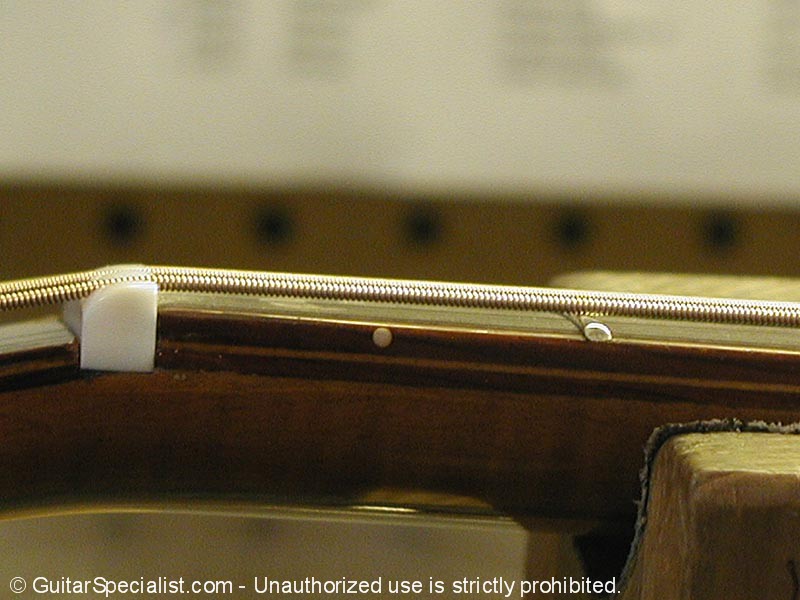 Here is our well seated nut - with yet again very nice low action at the first fret. This guitar should play really well now. |
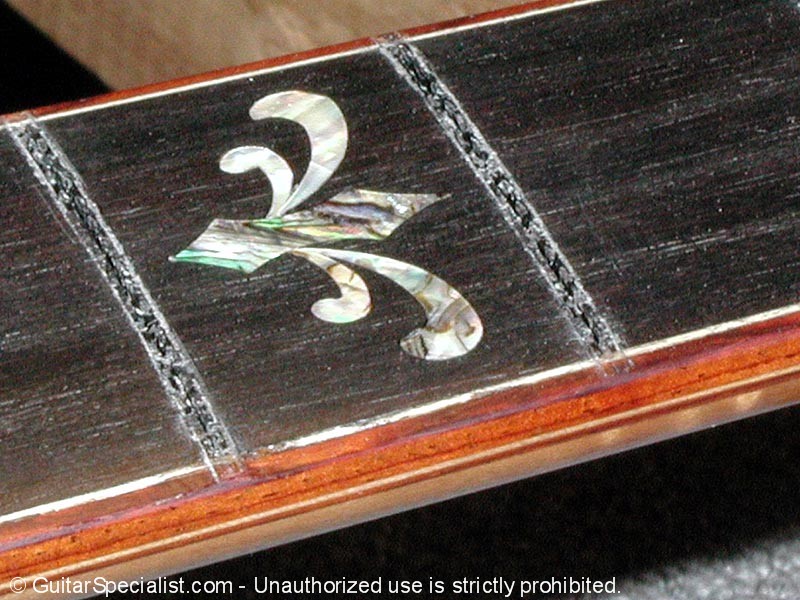
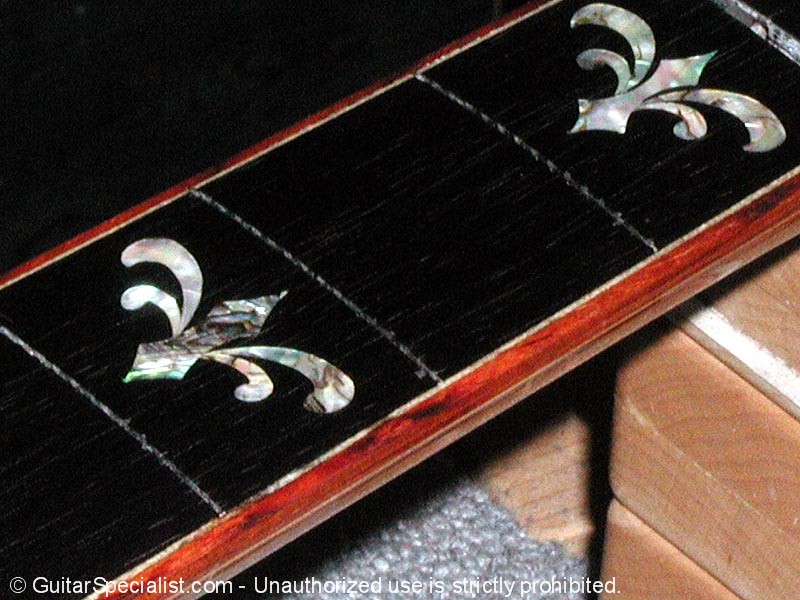
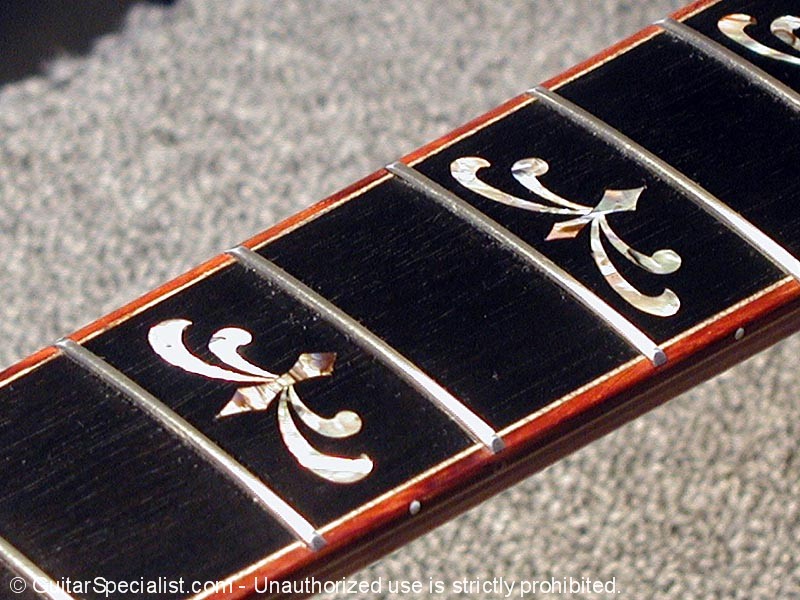
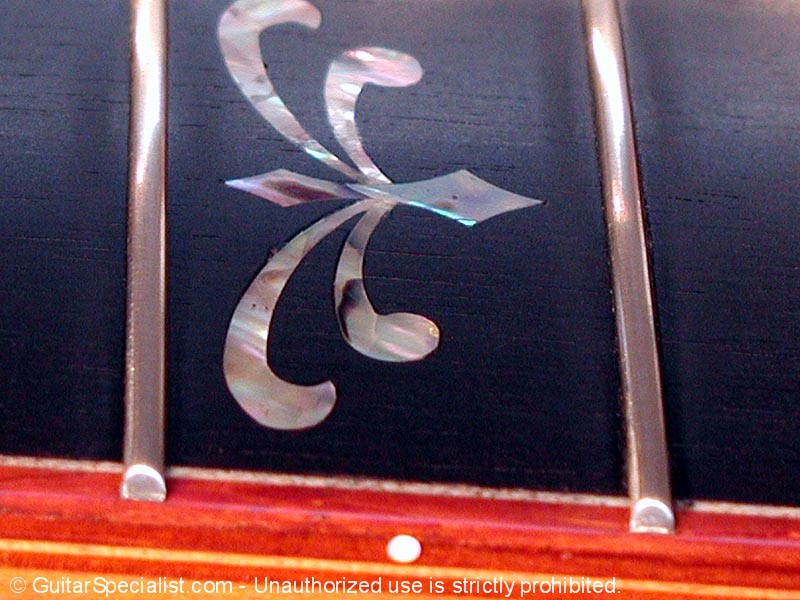
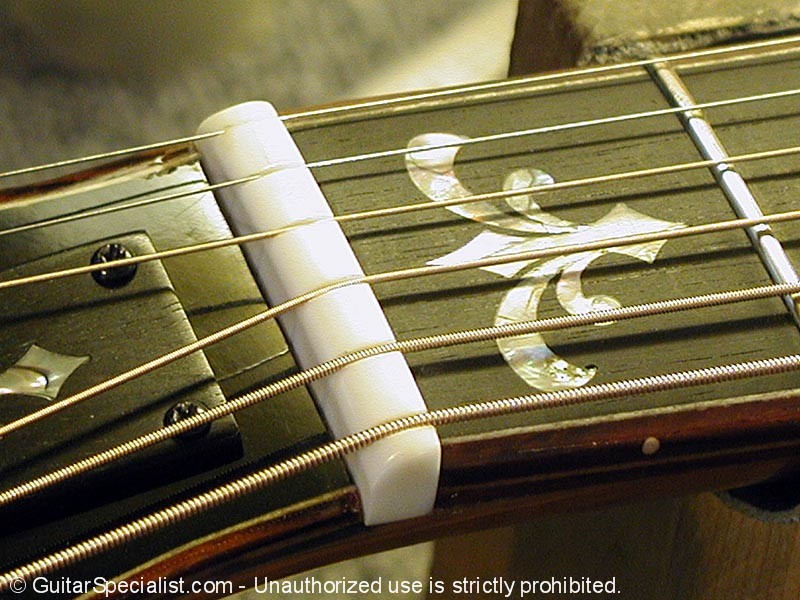 Here is another shot of the nut. And Jimmy's beautiful inlay. |
|
| Well that's it for this one. I am glad to say Paul was quite pleased with the way this one came out. We should have another one to show you soon. | ||
|
|
||
![]()
|
(914) 401-9052 |
|
|
|
© Copyright 1998 - 2019 and beyond |