
Back To


Please Be Patient
The thumbnails may take some time to load.
Click on any picture to see a larger version
![]()
| One of the most devastating things for a guitar player to see is the headstock come away from his instrument due to an accident with a guitar. In most cases the repair can be affected in such a way that the guitar can play and look as good as new. |
![]()
![]()
|
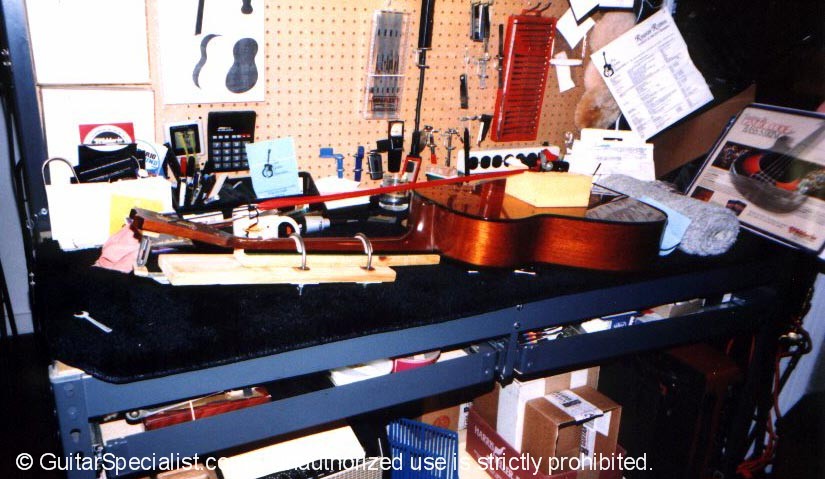
Our most recent patient is a 70's Gibson SG that had been repaired and re-repaired several times in other shops. Each time the guitar peg head cam loose again or broke in a new spot. After several repairs and some less than spectacular attempts at touching up the affected area, it showed up in our shop. After re-gluing the most recent break (I didn't bother taking pictures of that), we needed to reinforce the area by installing splines in the peg head. I've detailed that operation below. |
||
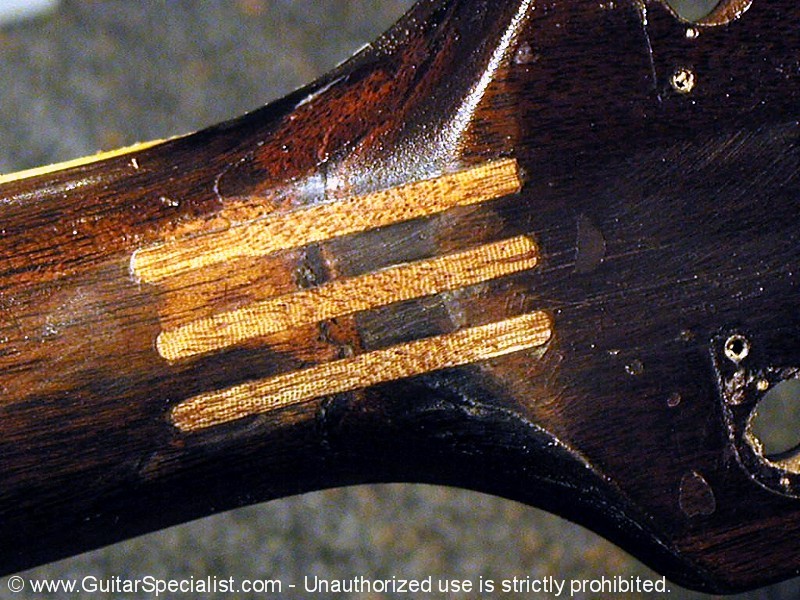
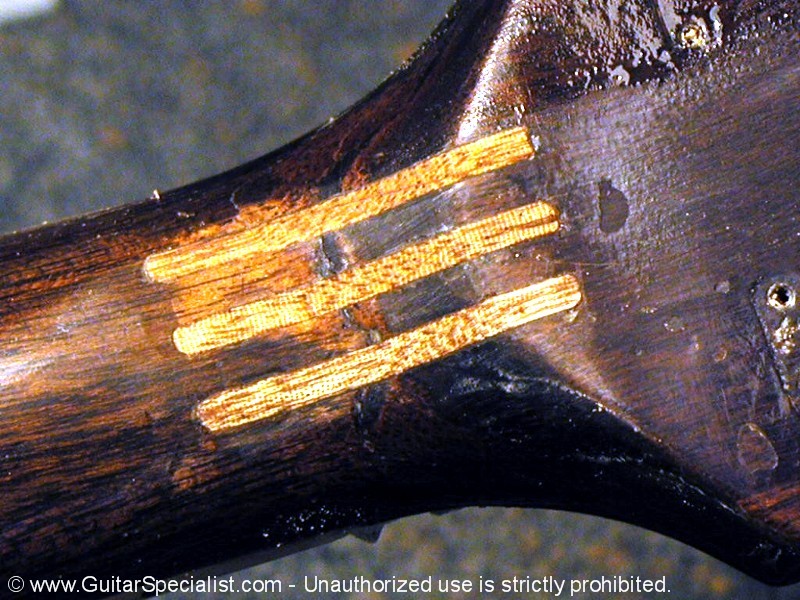
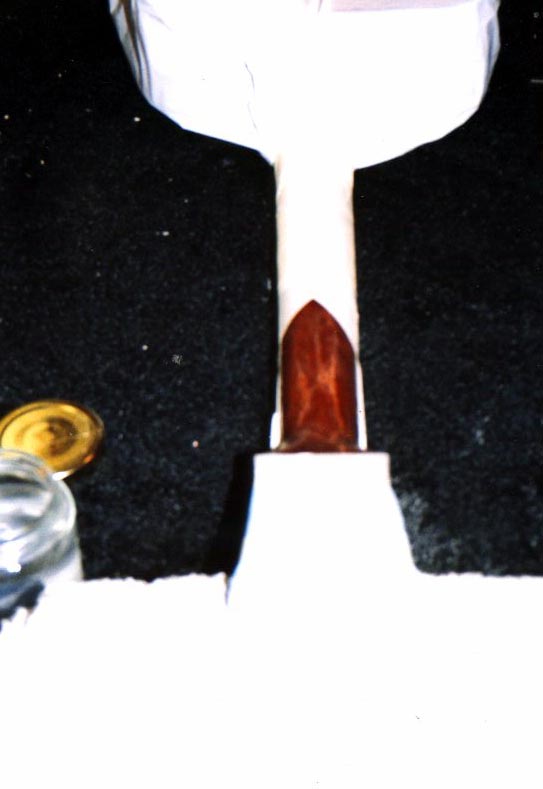
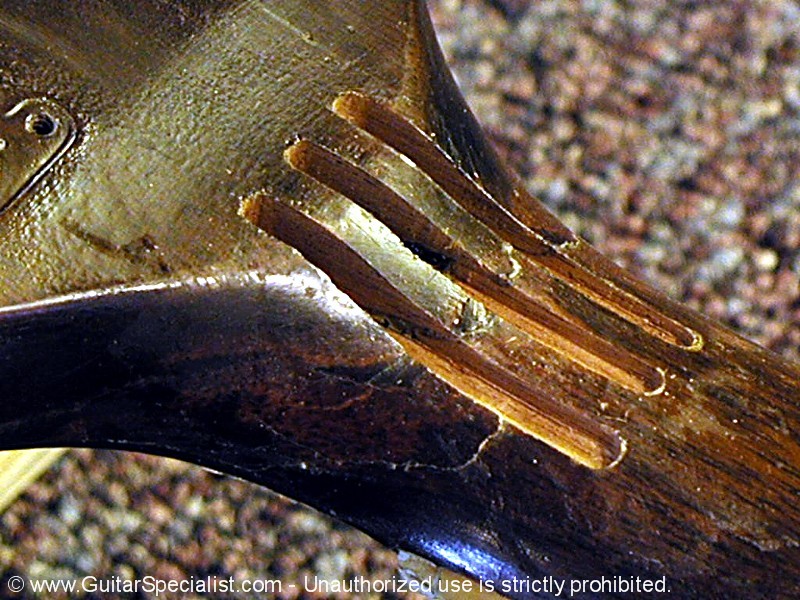 The first step in this process is to cut in channels for the mahogany inserts. I decided that three 1/8th inch splines running pretty deep in the peg head would give us the most strength. |
 If you look closely you can see at least three areas where the peg head had broken before. Also some really nasty attempts at touching up the area. |
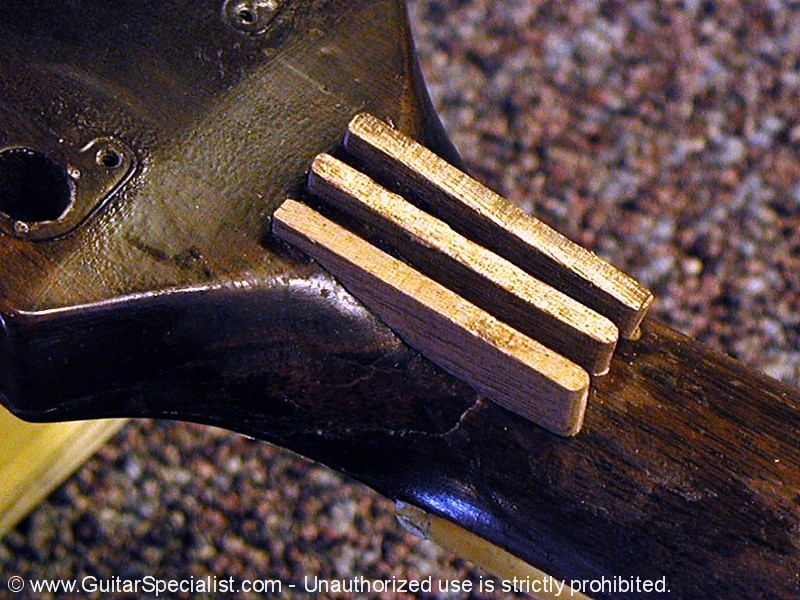 Then I installed some mahogany inserts that were made to be a pretty tight match to the cut out area. |
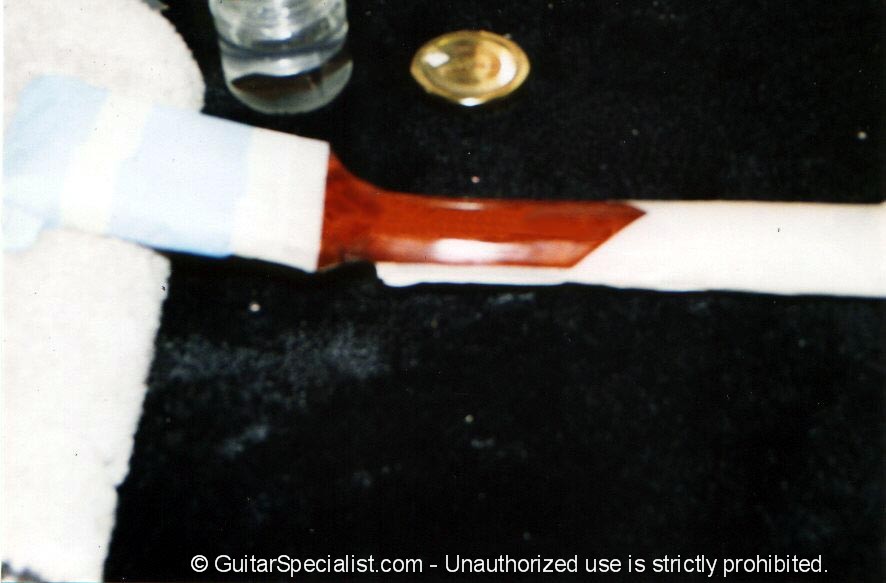
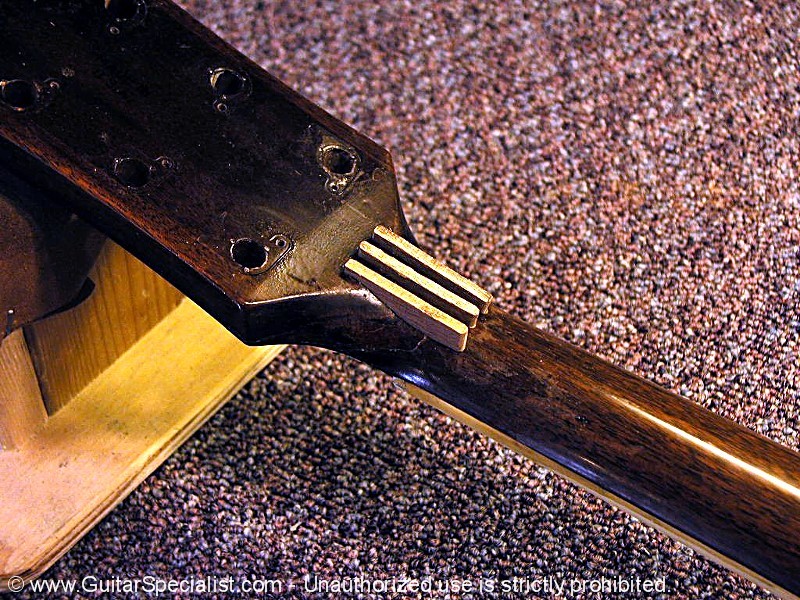 After gluing in the splines, we need to trim them flush with the back of the neck. |
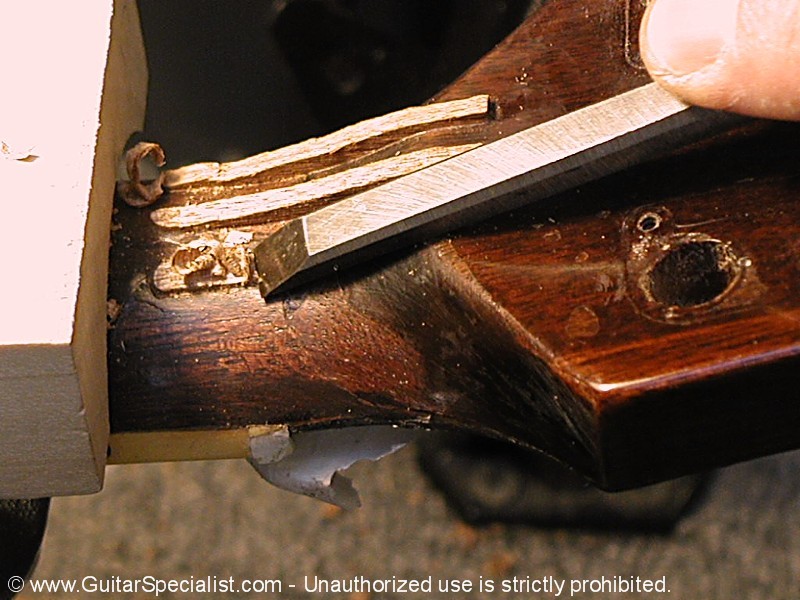 Using a chisel at first and a carving knife and of course sandpaper later we begin whittling away at the inserts. |
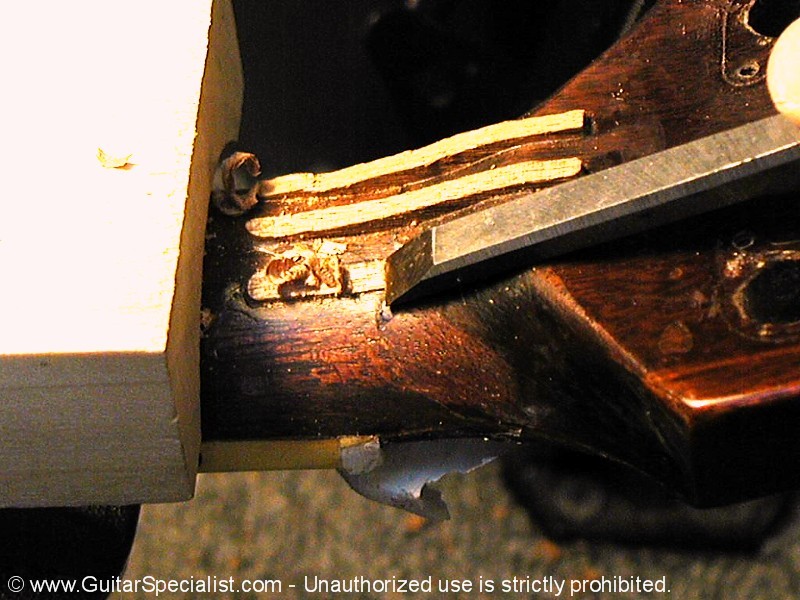 ...and whittling some more ... |
 ... and a bit more - you get the idea. |
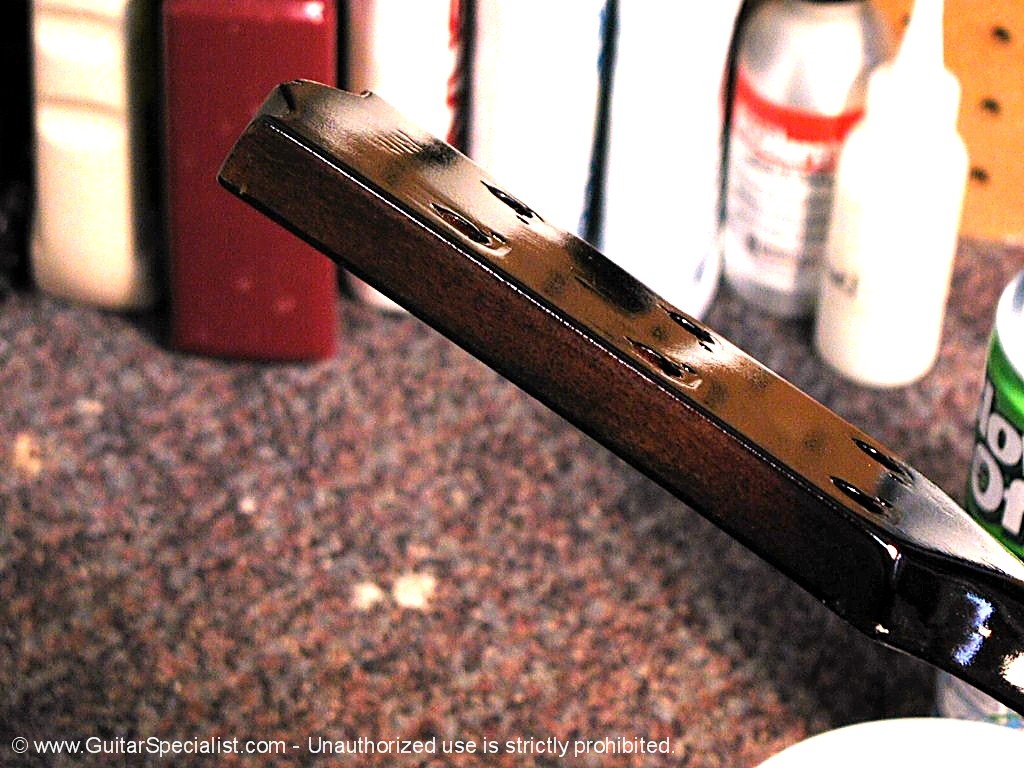
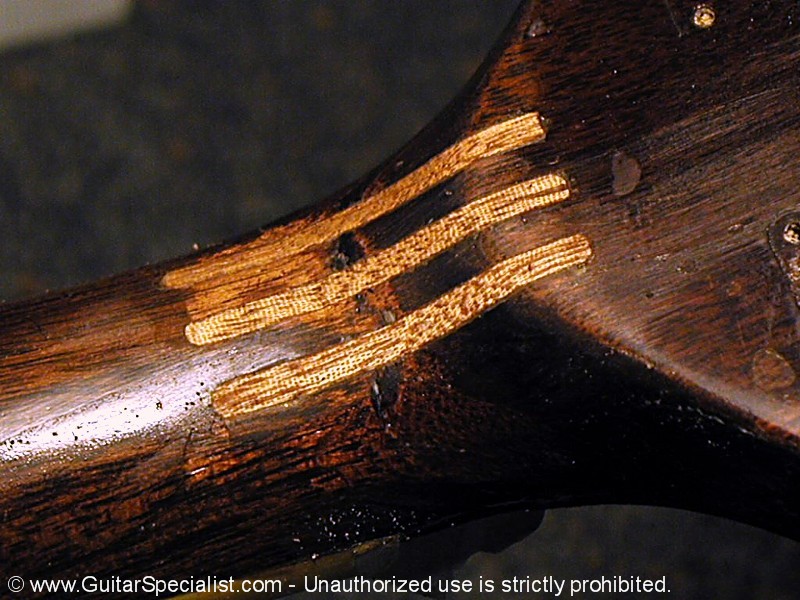 Finally we are cut flush with the peg head and neck. |
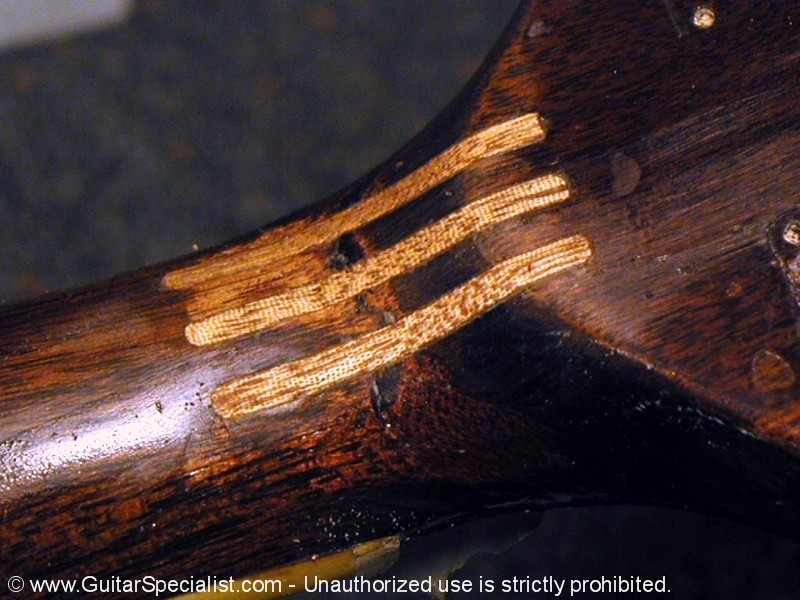 The mahogany inserts will show stain very differently than the original wood of the neck. They will always be visible if we merely try to do some color matching and spray with clear lacquer. |
 The only other choice is to hide the repair by "subursting" the peg head. Given the state of the previous attempt at touch-up. The owner and I determined that was the best way to go. |
 In this picture you can see some pretty awful touch-up from the previous attempts at repairing the guitar. |
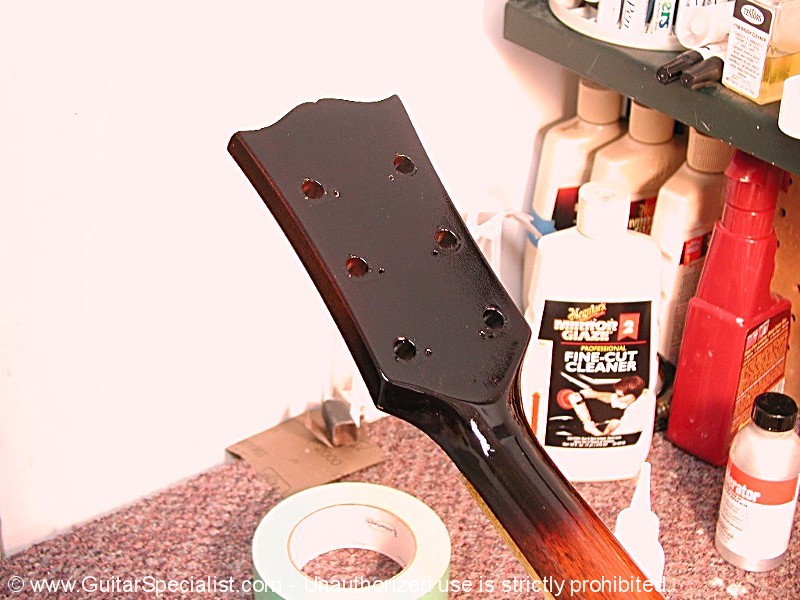
 Now we are in the finishing room. We have sprayed the back of the peg head and "bursted" in with some lacquer mixed with tobacco brown pigment. |
 we are clear coating over that. The tobacco brown hides the splines pretty well in the dark area but still allows the wood grain to come through as it graduates up the peg head. |
 Building plenty of coats of clear lacquer over the course of several days will give us a nice, deep look to the neck. |
 Along the way I can choose to adjust the color with some "shader" coats. I felt it needed to be a bit darker. |
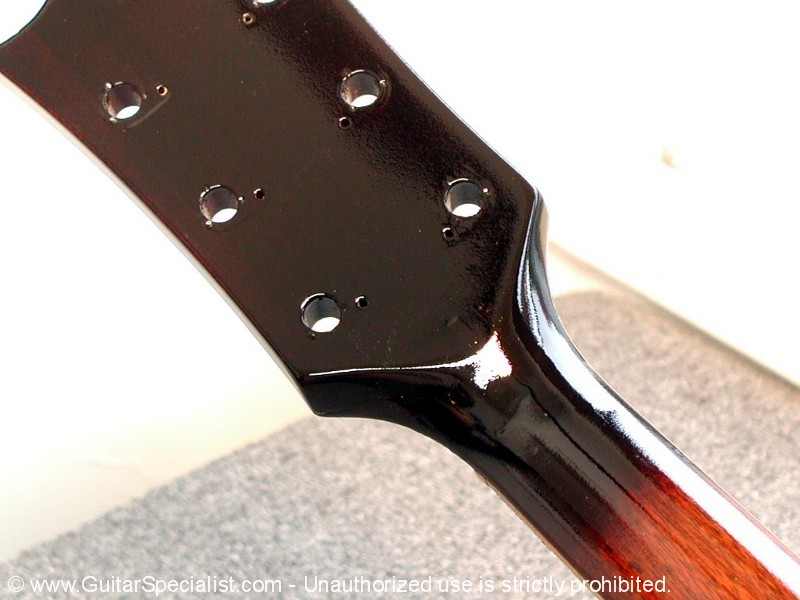
 There - that's about the color I am looking for. Time to let it gas off for a couple of weeks and then buff out the finish. |
 The sunburst looks pretty natural - allowing the original color of the guitar come through on the sides of the peg head. |
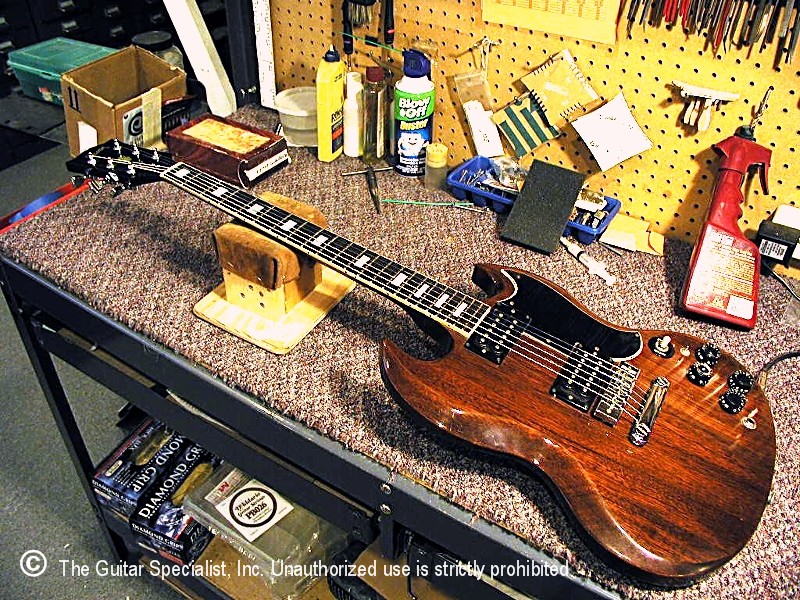 Here is the completed guitar. New frets, a new net and new tuners completing the ensemble. |
 The face of the peg head was finished as well. |
 Here is a look at the side of the head. There's virtually no evidence that the guitar ever suffered that many breaks in the peg head. |
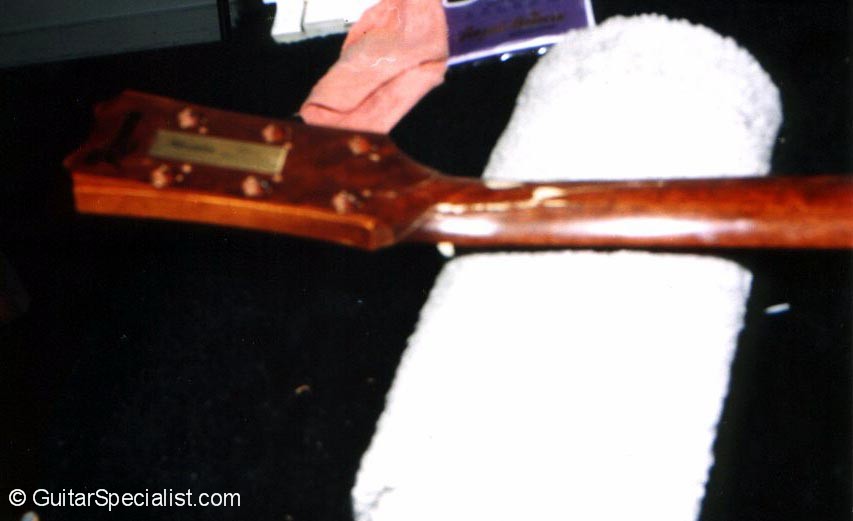
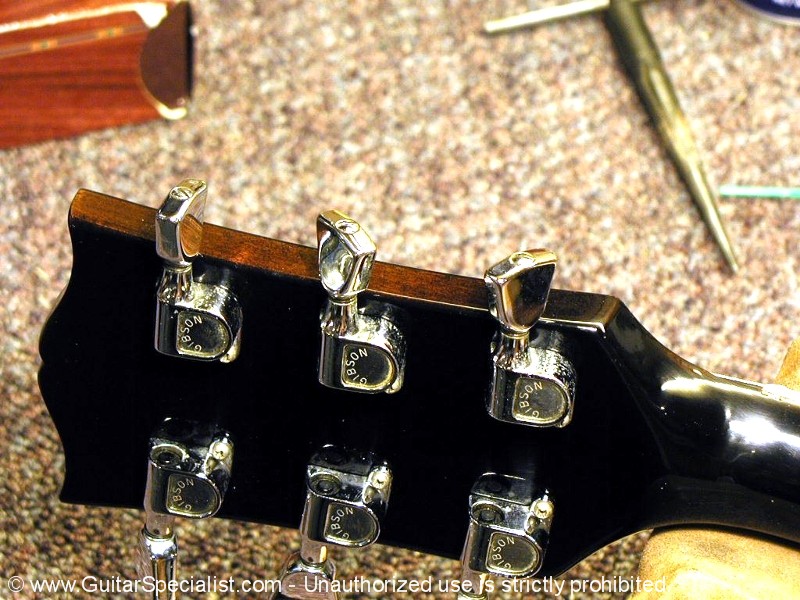 One final shot of the back of the peg head. |
![]()
|
Whether the headstock comes away from
the instrument completely or |
||
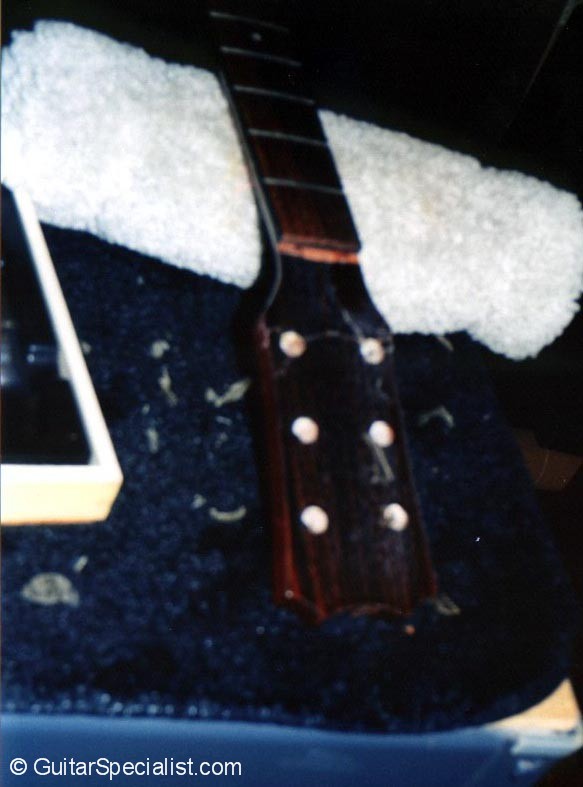
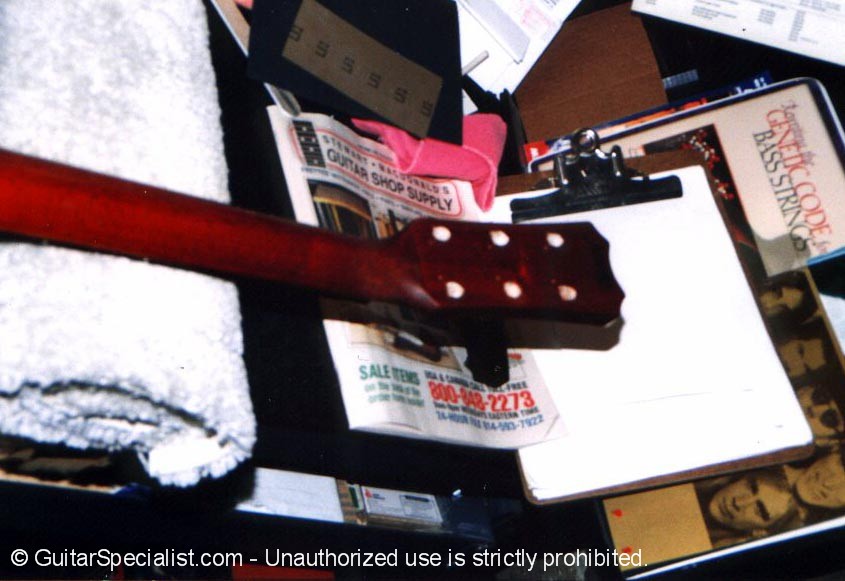
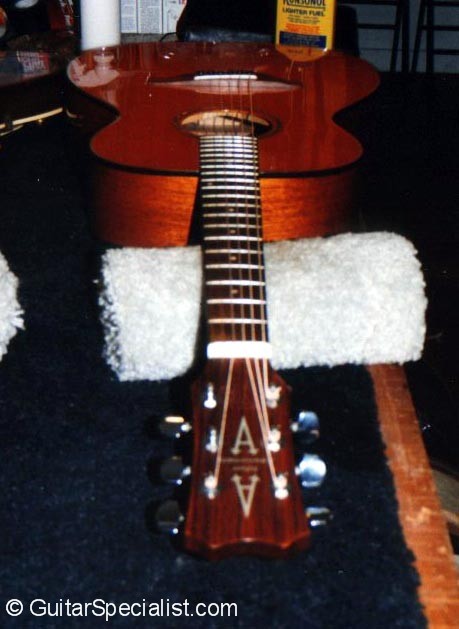
 This guitar's headstock came away from the neck completely. Here is the clamping setup I use to re-attach it. |
 The headstock is now back on the guitar. Now the fun part - lets see if we can clean things up a little. |
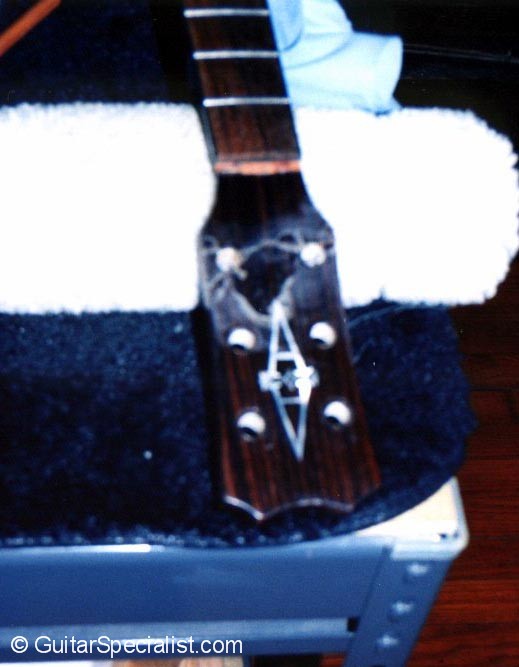
 Unfortunately the inlay didn't survive the ordeal, so I'll replace that before I do the touch up & finishing. |
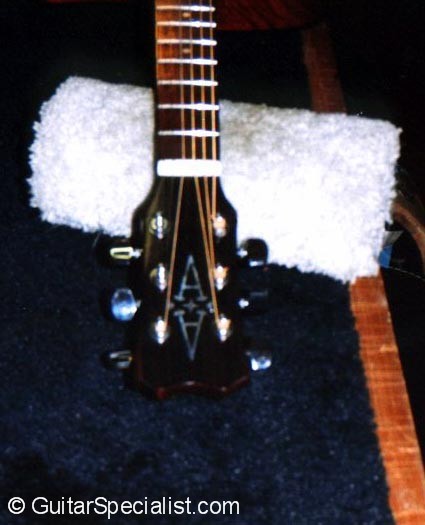
 Here's a little clearer shot of the headstock after cleanup. |
The Alvarez inlays provided by the factory are glued in & left to dry. After they're dry, I'm ready to try & make that crack line disappear. |
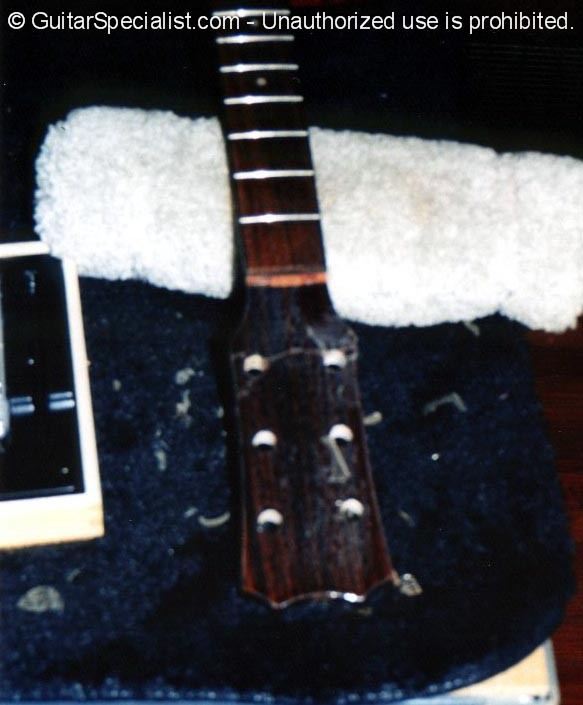
 After touchup. Now it's ready for some lacquer. |
 After the finish is applied, the crack is hardly noticeable. |
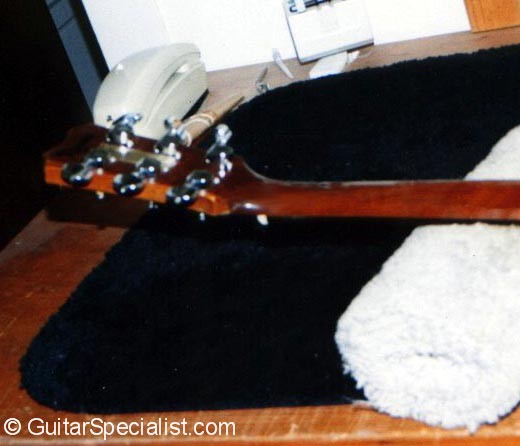
 The view from the back. |
 Time to string it up & set it up.
|
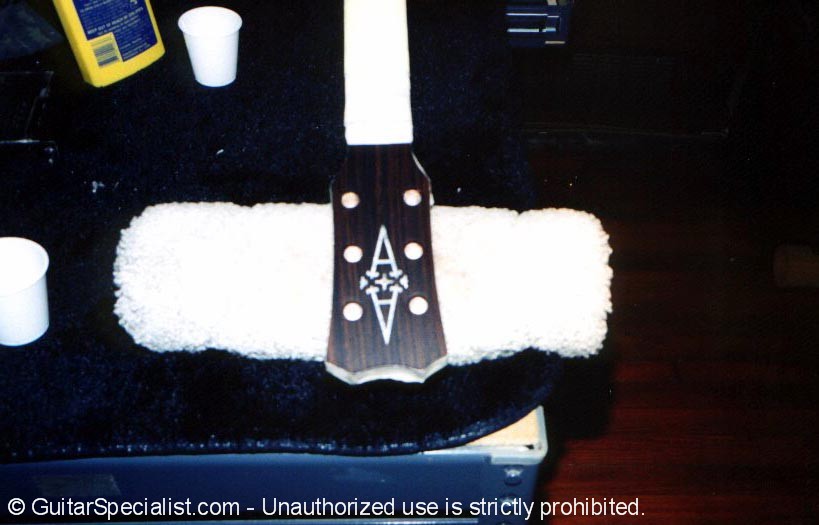
 There ! Good as new. |
 The rear view with the tuners installed. |
|
![]()
This headstock break did not come
away from the guitar. It splintered
it's way up the neck. In some ways this is an easier repair due to the longer
surface
area of the glue joint. The touch up work will take quite a bit more time.
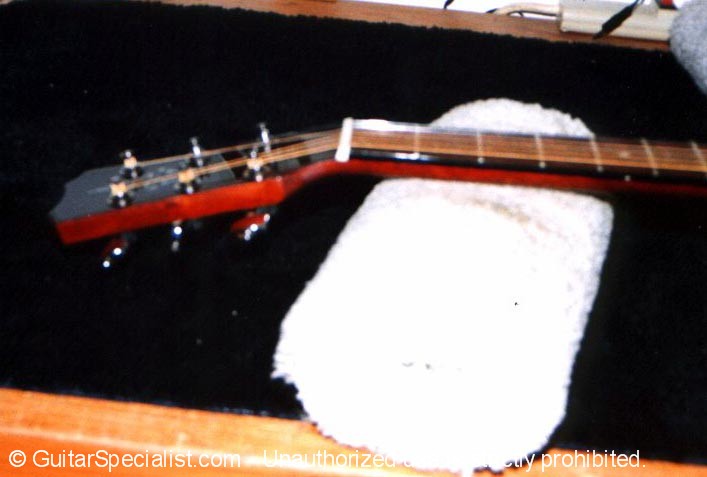
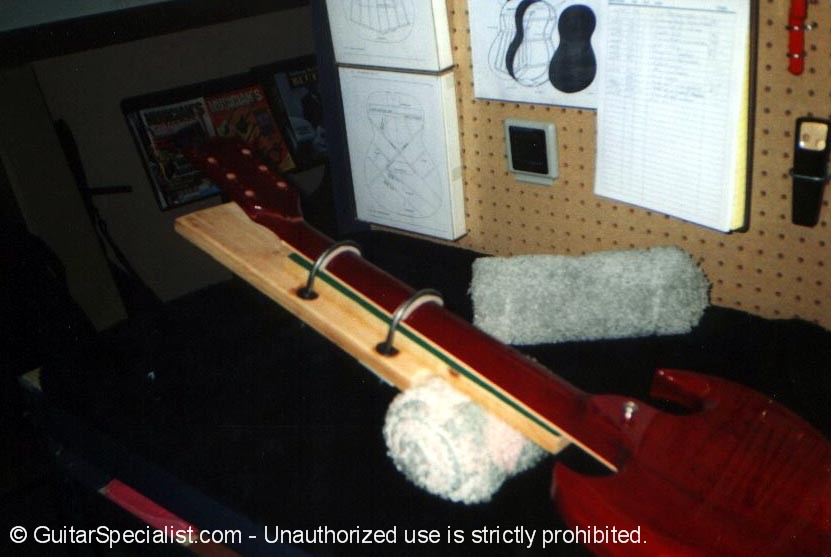
 The crack worked its way up the back of the neck. Some wood splinters are missing as well. |
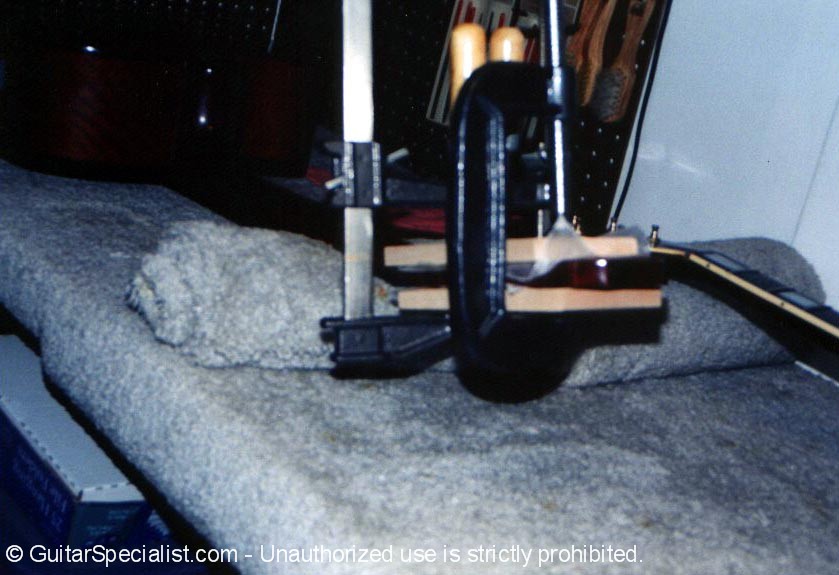
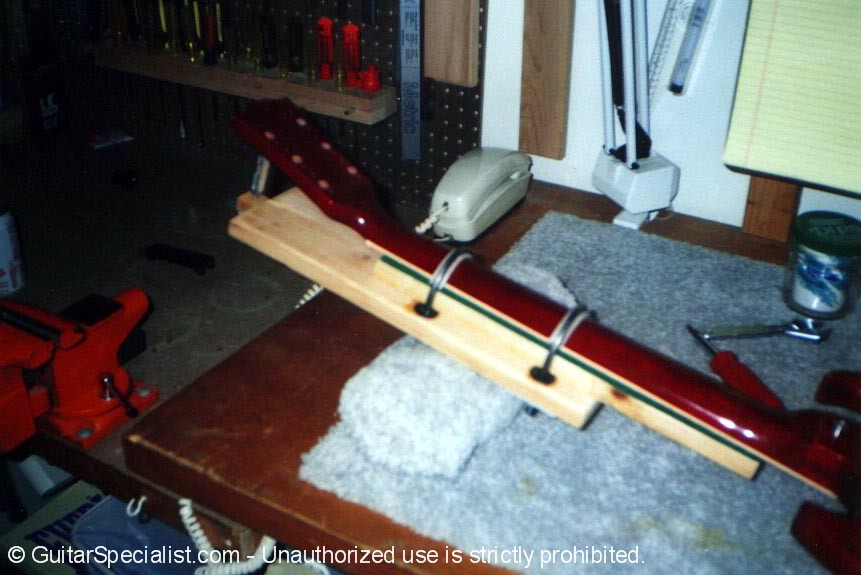
 Here is a clamping jig I came up with to apply reverse pressure to the headstock while gluing. |
 A band clamp gently pulling the head back provides a little extra insurance.
|
 With some wood filler in place we begin the touch up. At this stage I still have to go a bit darker - but the color seems right.
|
 That's getting a bit closer - I think I'll stop here. It will darken up some when the lacquer goes on. |
 There we go - after finishing and tuner installation it looks like it used to. |
 Good as new. And an otherwise fine guitar can be used again. |
![]()
 Here's my headstock jig again being used on a Gibson SG, which is particularly prone to headstock breaks due to the steep angle of the peg head. |
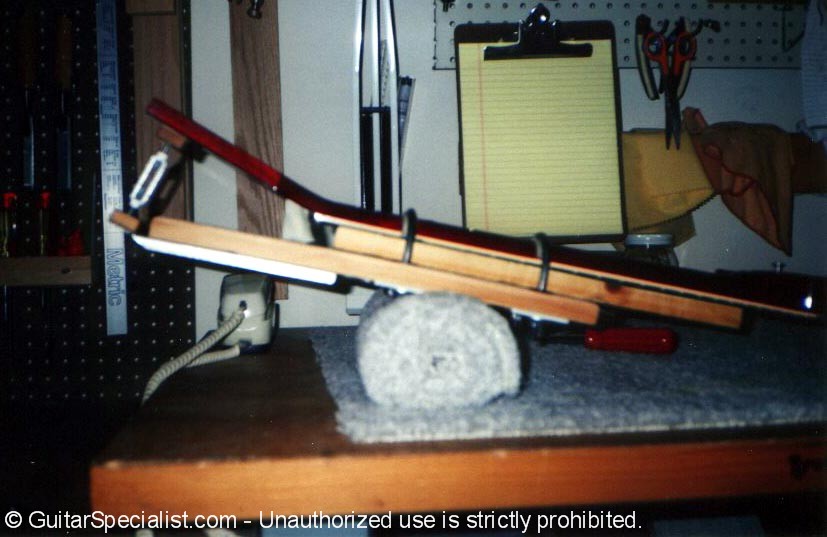 The jig is a little crude but it works so well that... |
 this instrument will hardly need any touch up at all. |
|
(914) 401-9052 |
|
|
|
� Copyright 1998 - 2019 and beyond |